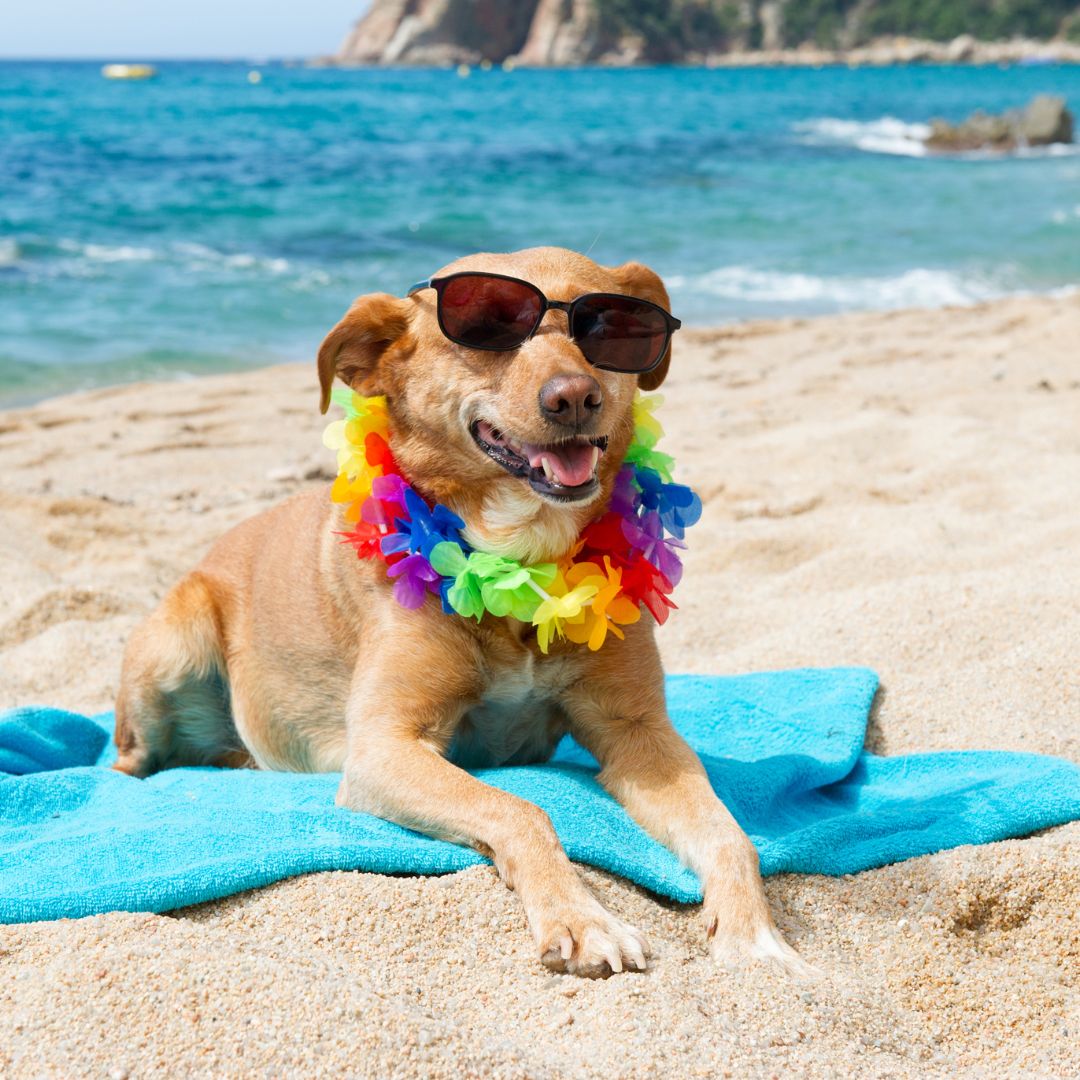
Keep Your Pets Calm This 4th of July! The Fourth of July means fun for us, but those booms and bangs can leave our pets shaking in their paws. If your dog hides under the bed or your cat bolts at the first firework, you know exactly what we mean. The good news? You don’t have to watch your furry friend stress out this year.
Stop by Store #2 at Kissimmee Valley Feed. We’ve stocked up on some of our favorite calming products to help your pets feel safe and settled. Here’s what we’ve got:
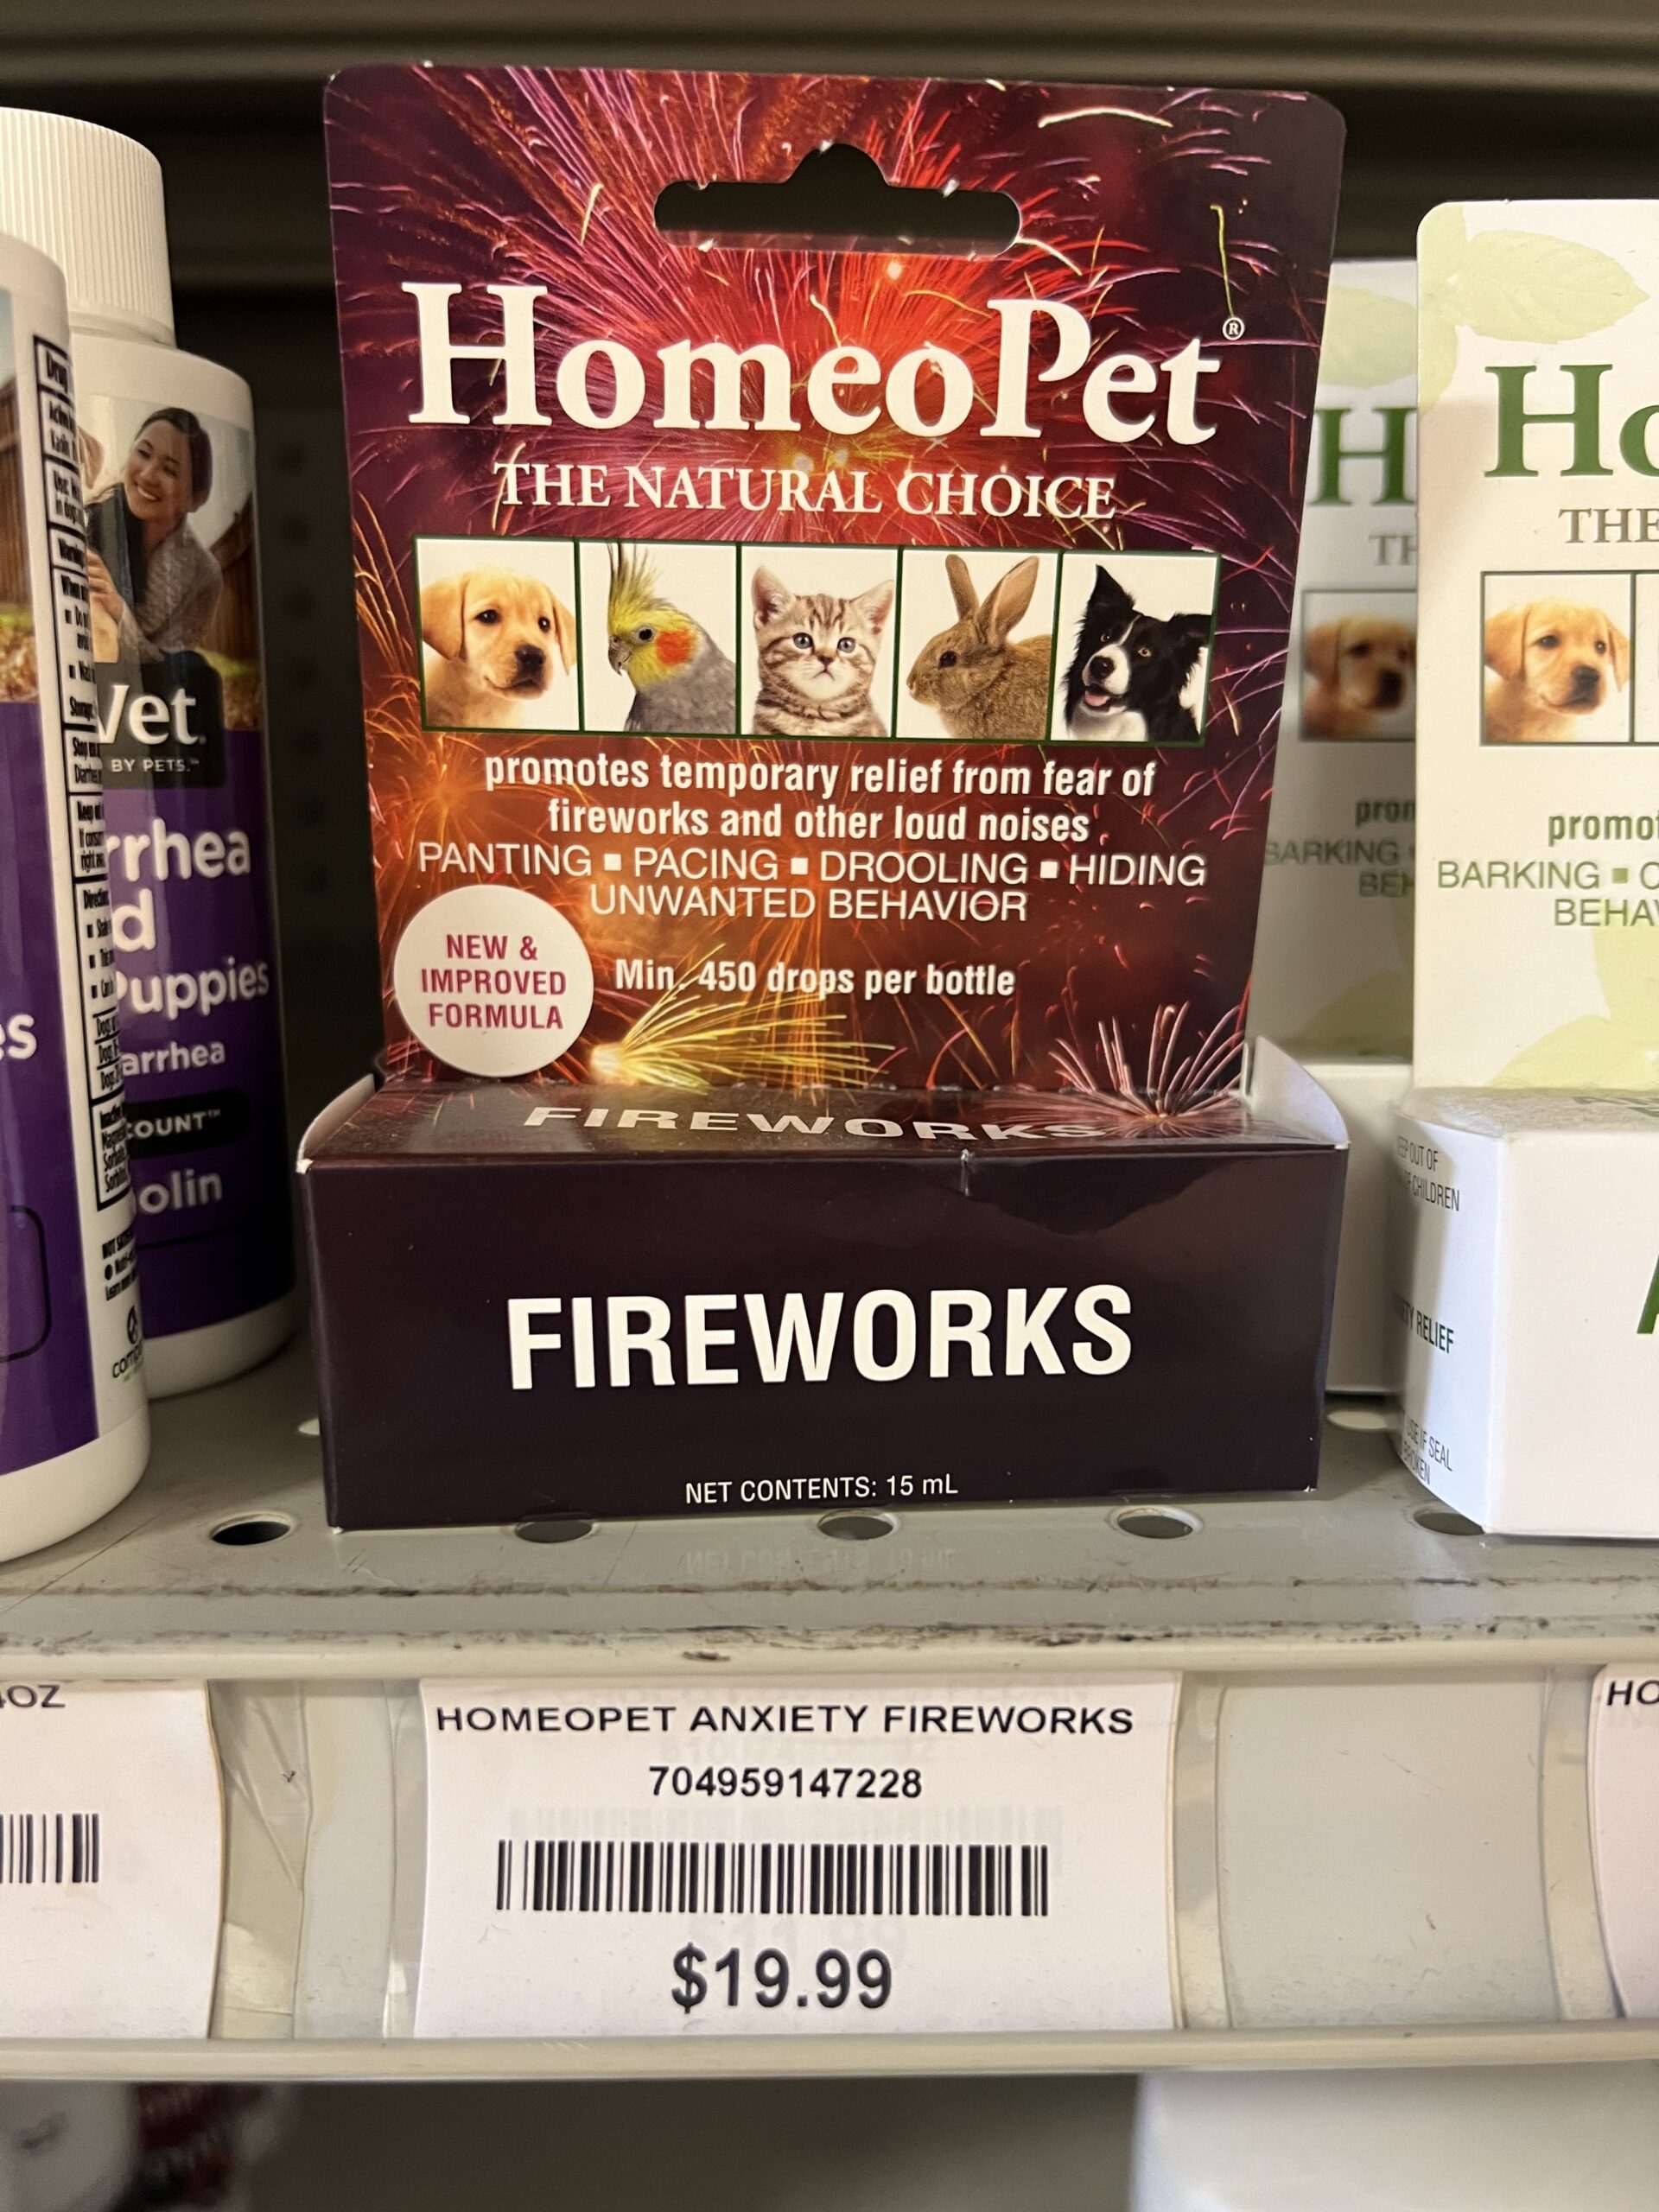
- HomeoPet Fireworks – A natural remedy made just for noise anxiety. Perfect for pets who get jumpy when the sky lights up.
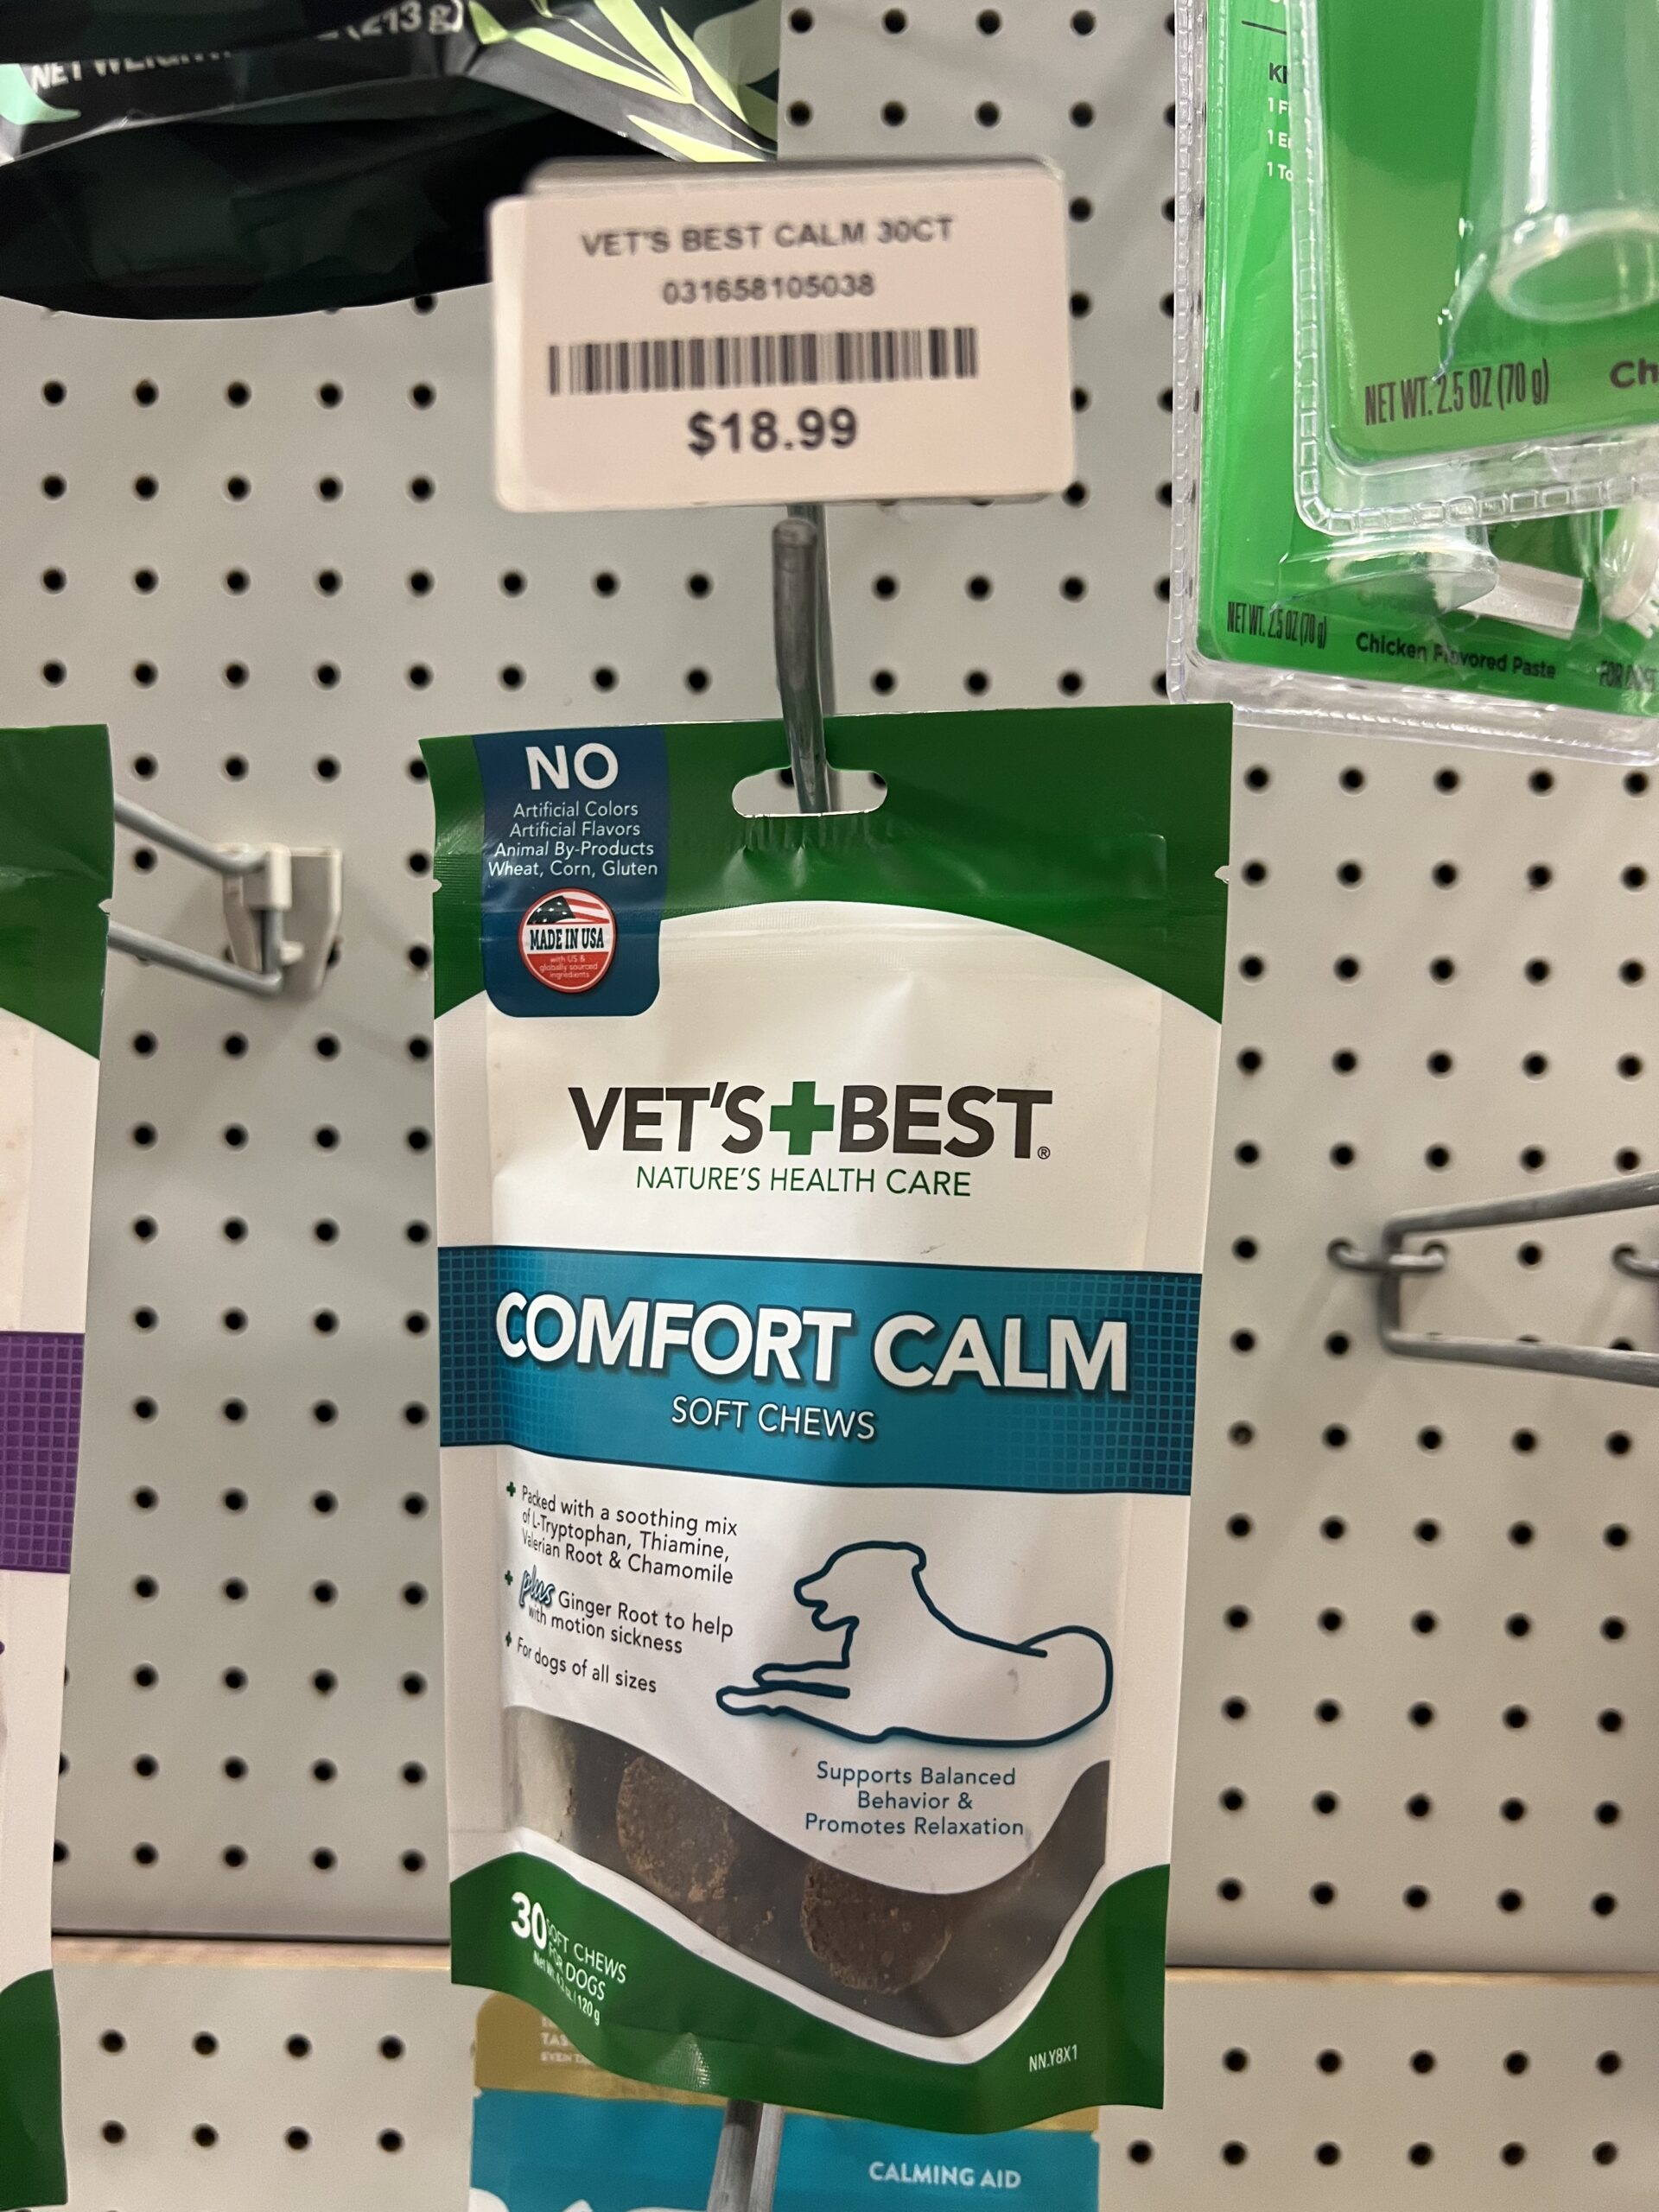
- Vet’s Best Comfort Calm Soft Chews – Tasty soft chews that help your pet relax and unwind. Easy to give, easy to love.
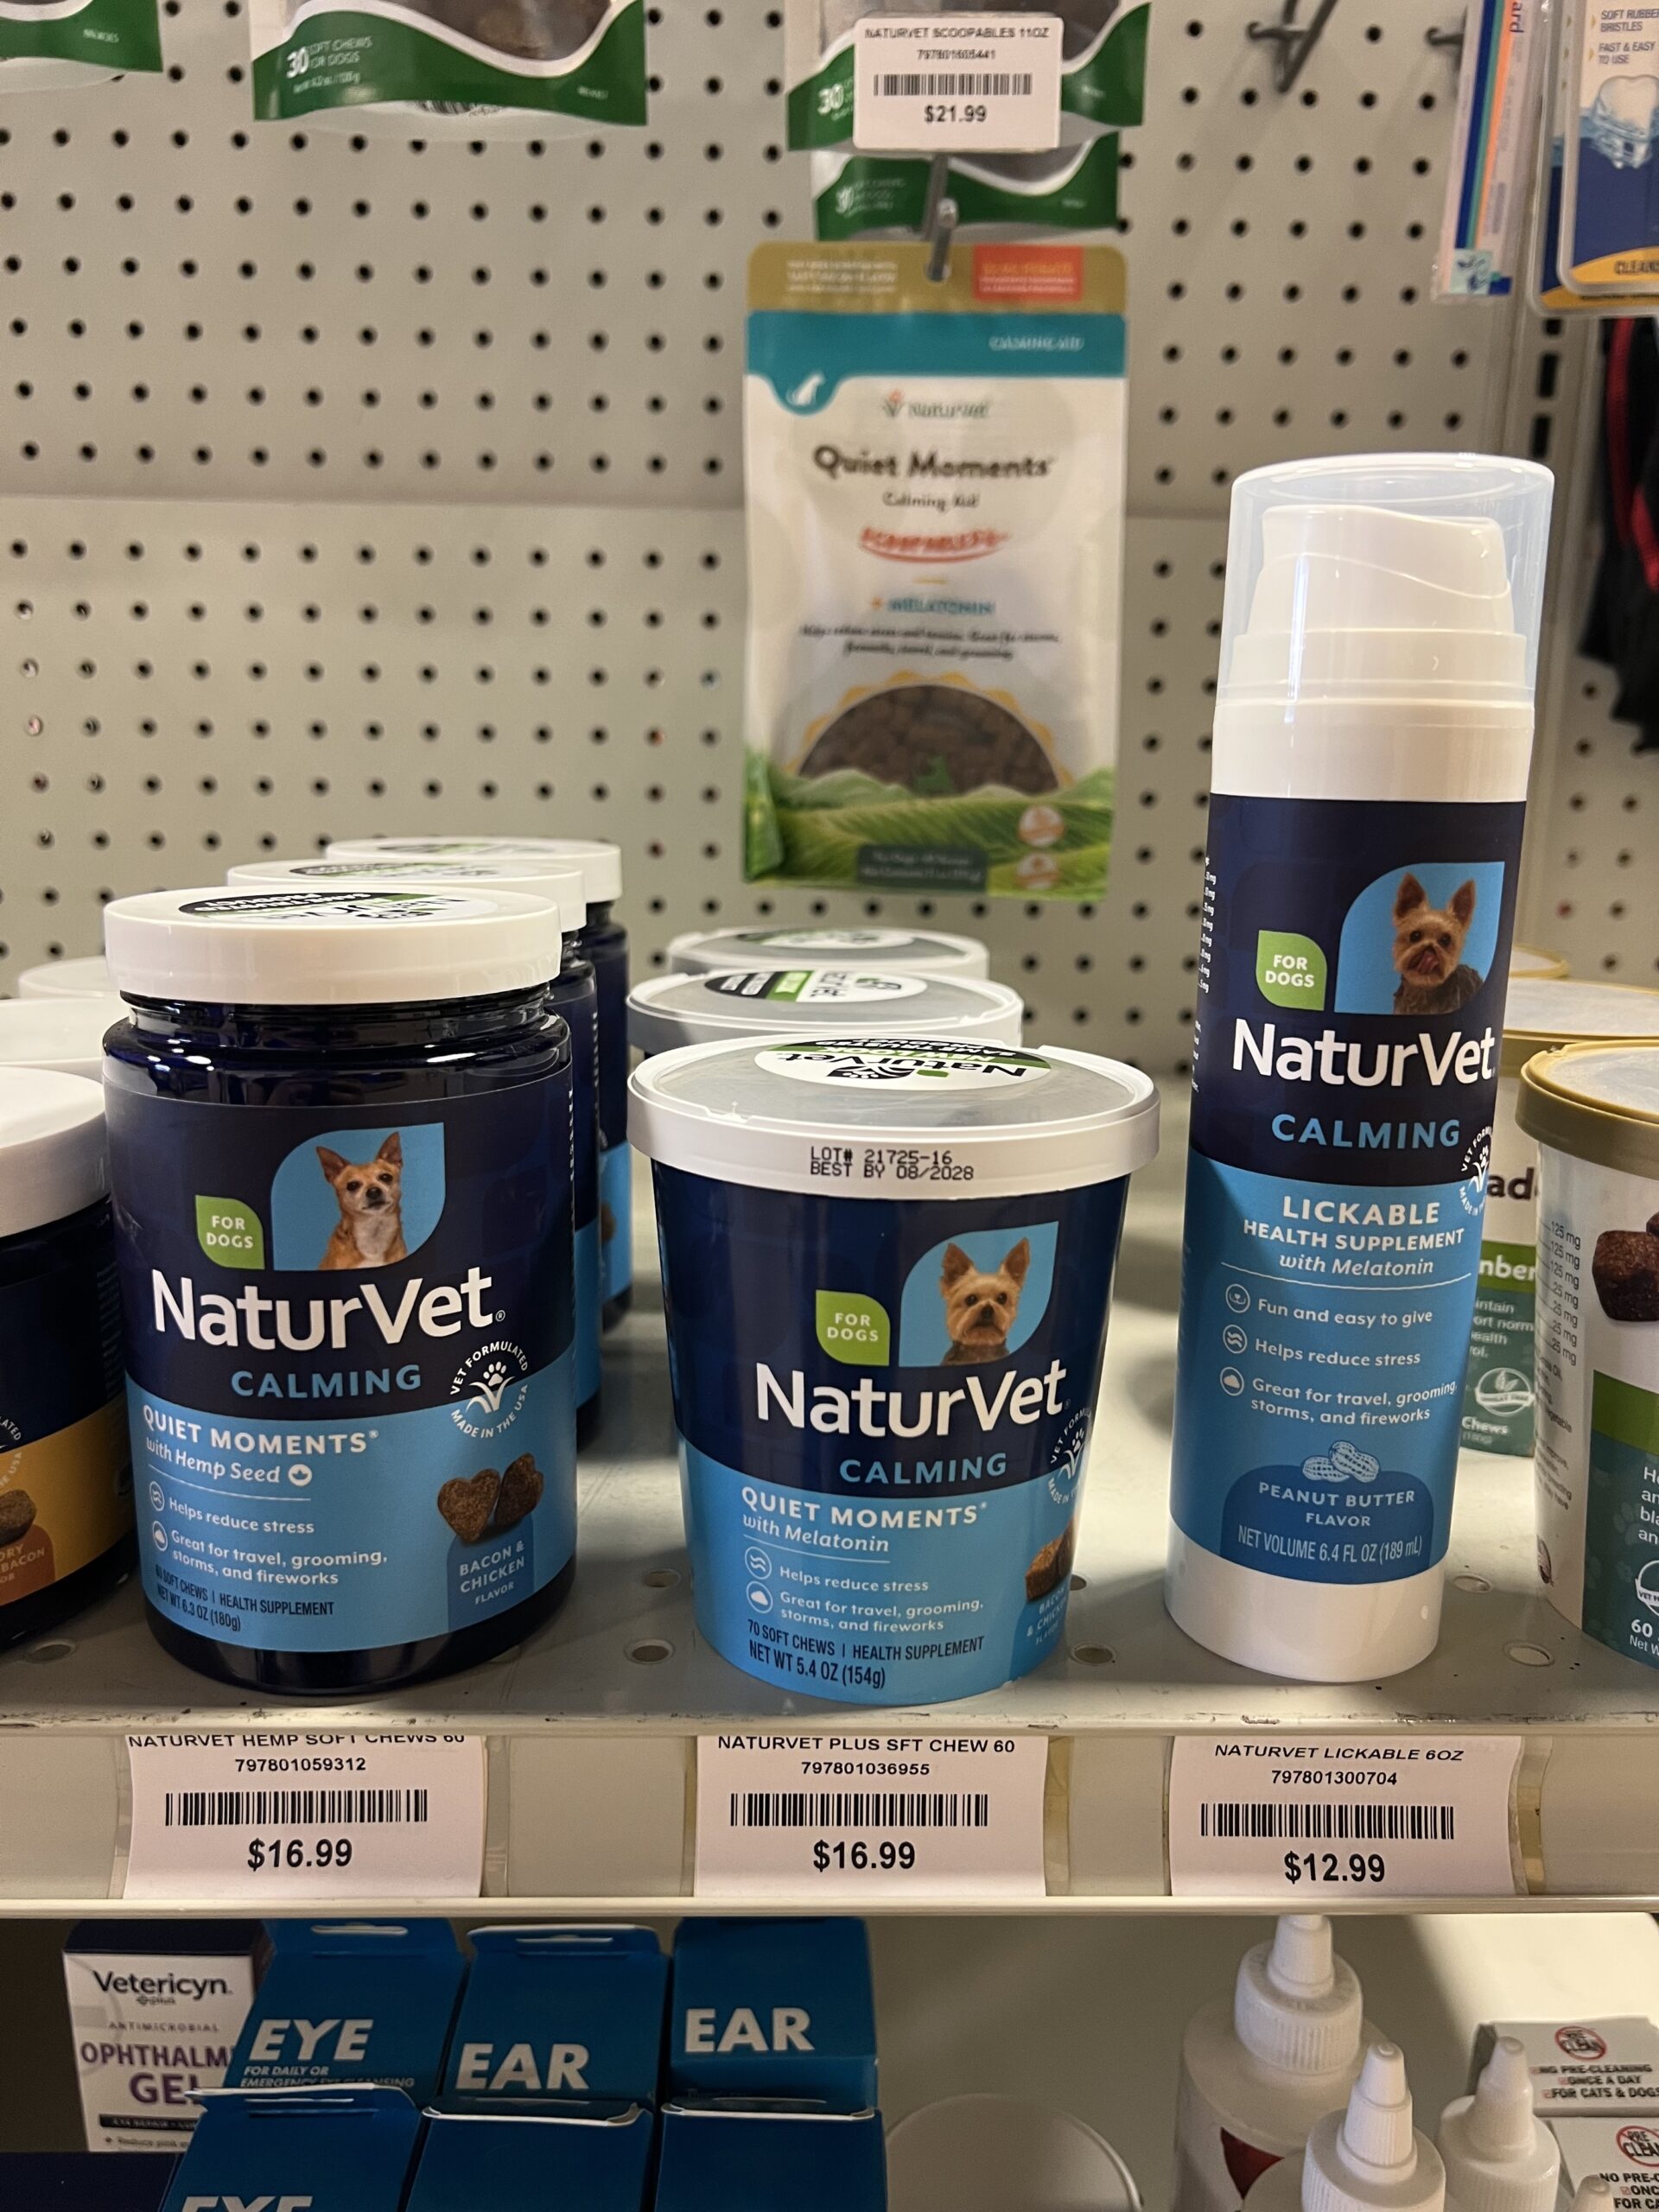
- NaturVet Calming Chews – Chewable calming support that takes the edge off during loud celebrations.
- Pet Releaf Edibles Stress Relief – Hemp-based edibles that help soothe stress naturally. A great pick for anxious pups.
Every pet is a little different, so swing by and let our team help you find the right fit. We’re always happy to chat and share what’s worked for our own four-legged family members.
Don’t wait until the fireworks start! Visit Store #2 at Kissimmee Valley Feed before the holiday and grab what you need to keep your best friend calm. 🐾