


 Why Do Dairy Cows Look Thinner Than Beef Cattle? Have you ever driven past a pasture and noticed how “skinny” some cows look compared to others? If you see ribs or hip bones, you might worry the animal is underfed. However, this is usually just the difference between a dairy cow and a beef cow. They are bred for completely different purposes, and their bodies reflect that job.
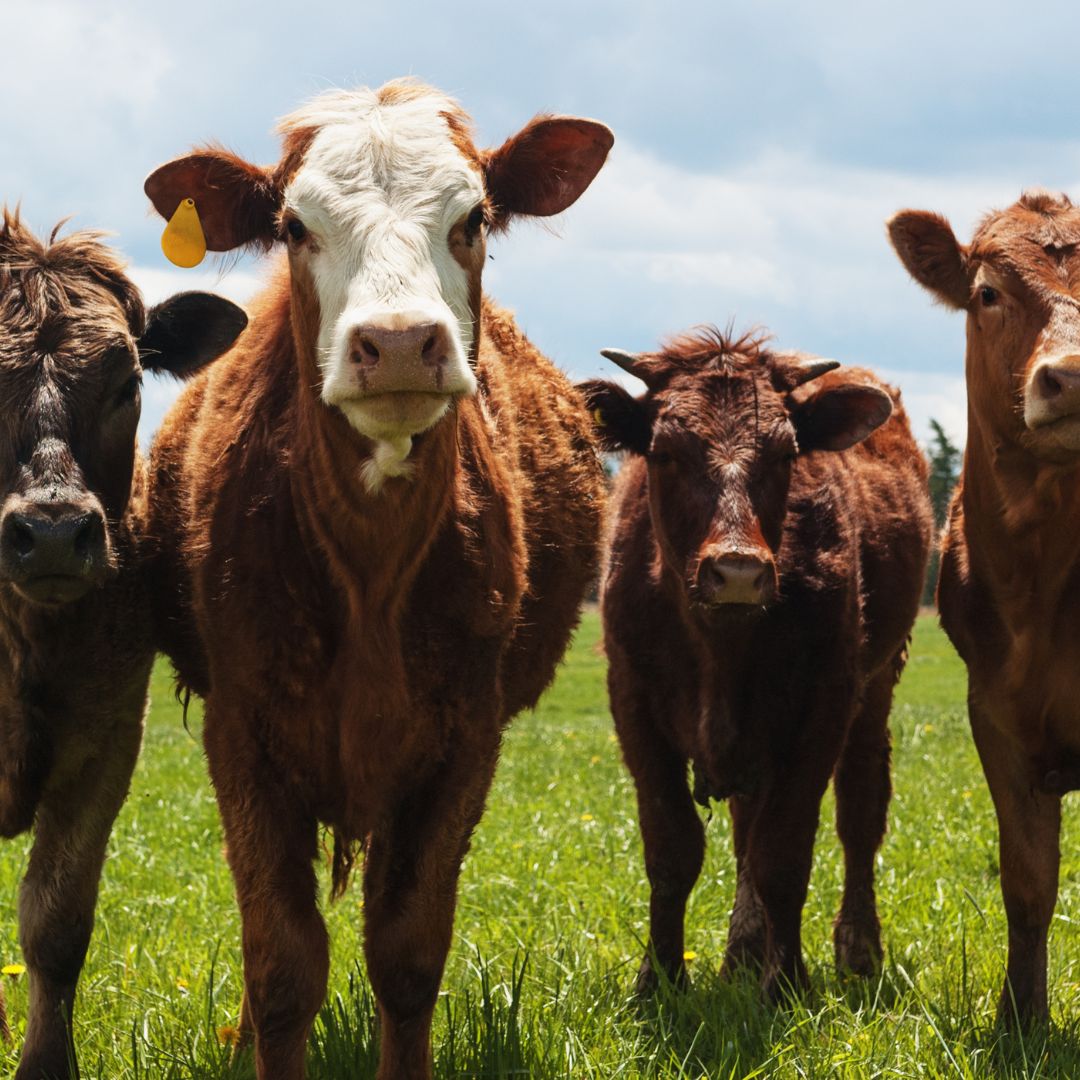
Beef cattle, like Angus or Hereford, are built for meat production. Their bodies naturally store energy as muscle and fat. This gives them a blocky, rounded, and heavy appearance. When a beef cow eats, she uses that fuel to build a sturdy frame.
Dairy cattle, like Holsteins or Jerseys, are the marathon runners of the bovine world. Their job is to produce milk. A high-producing dairy cow directs almost all her energy into making milk rather than storing body fat. Because of this, she naturally looks angular and lean. Seeing her ribs doesn’t mean she is starving; it often means she is working hard and producing a lot of milk.
Regardless of the breed, proper nutrition is the key to health. A dairy cow needs a high-energy diet to sustain her milk production without losing too much weight. A beef cow needs balanced nutrition to build quality muscle.
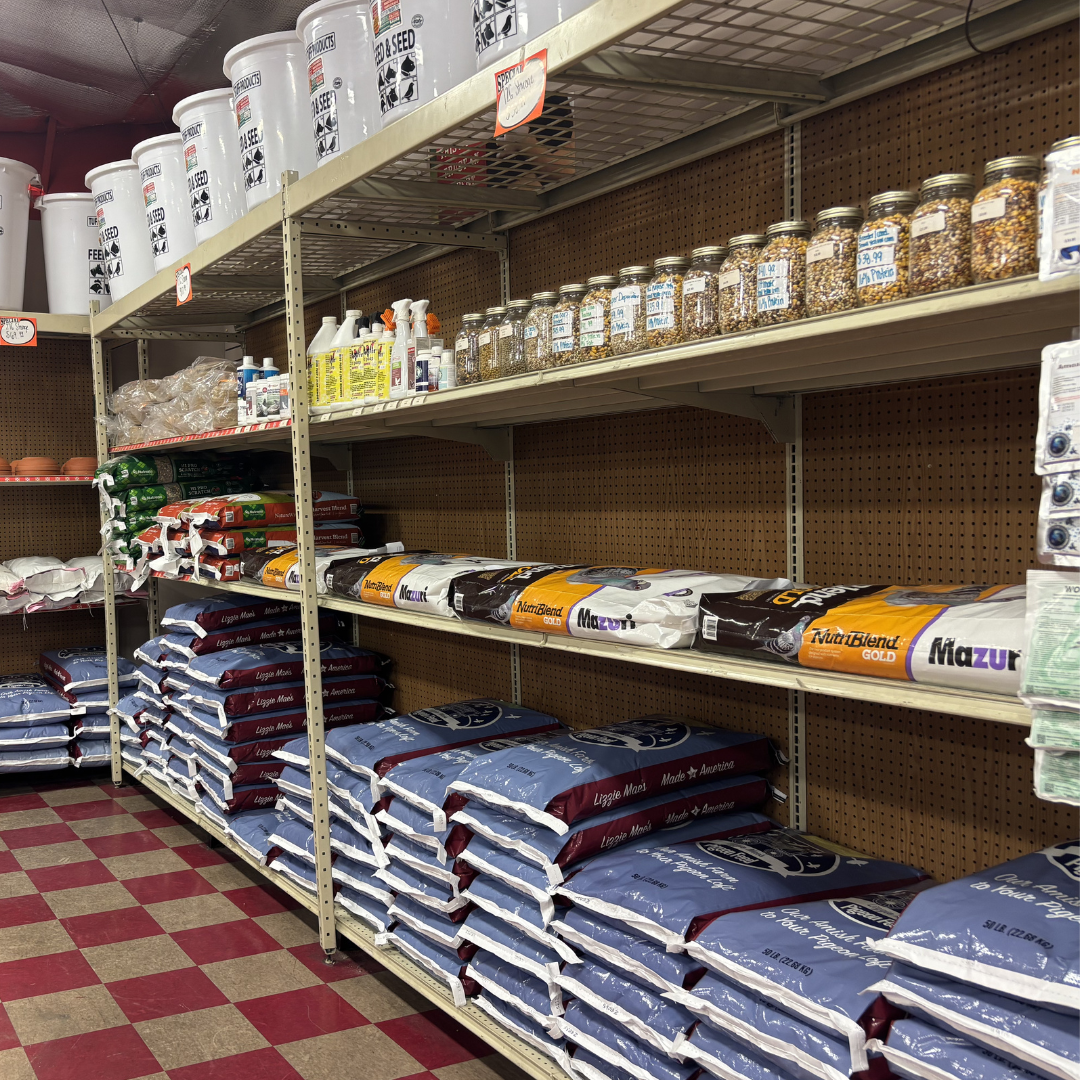
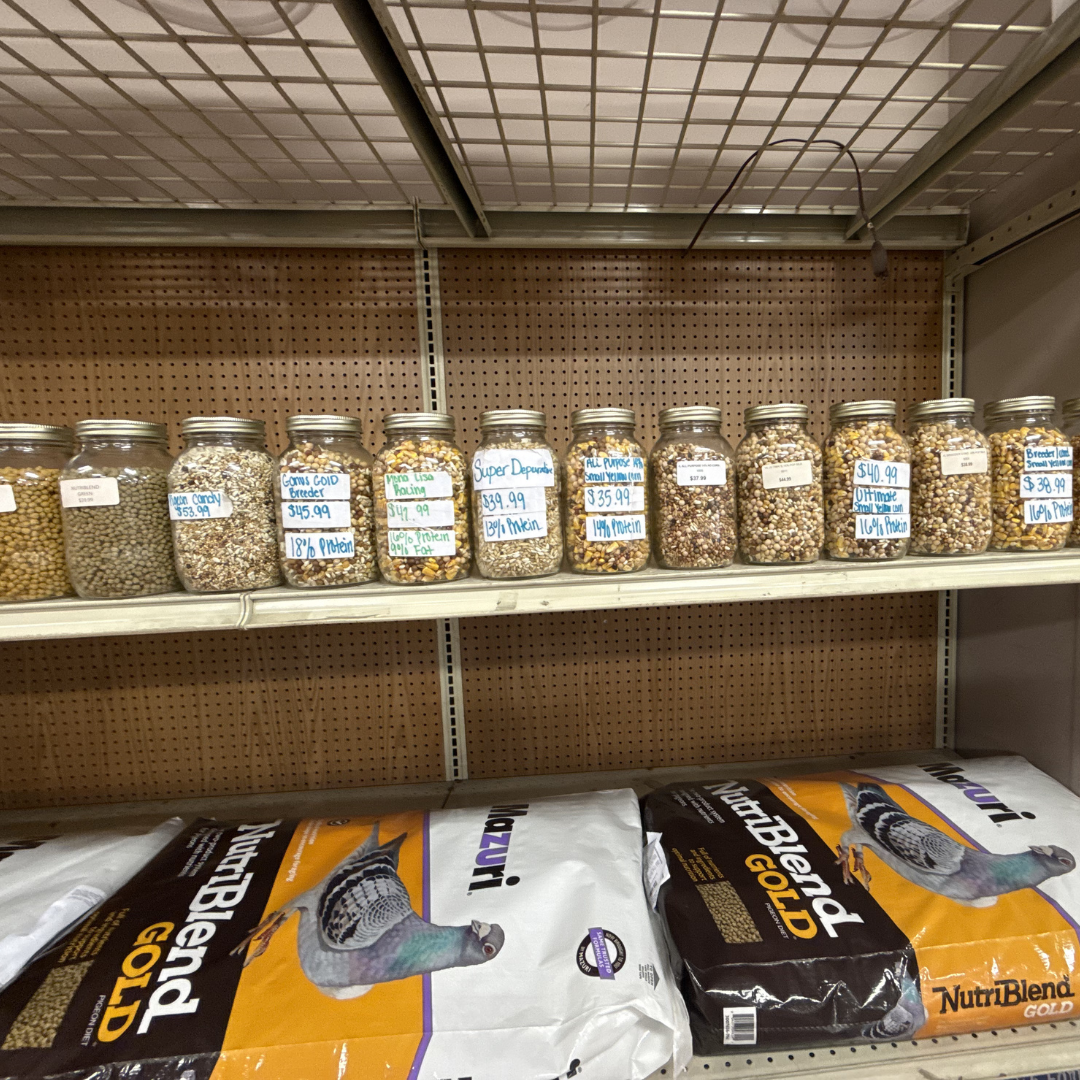
At Kissimmee Valley Feed, we understand these unique needs. We carry specialized feeds for every type of cattle, including premium options from Kalmbach Feeds and Purina. Whether you are raising a prize steer or a family milk cow, we have the right fuel for them. Visit us today to find the perfect feed plan for your herd.
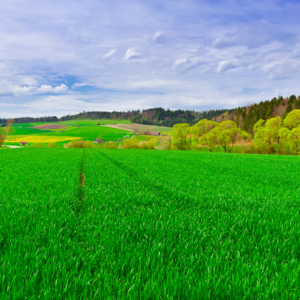 The arrival of spring presents a prime opportunity for farmers and livestock owners to improve the health of their pastures through proper pasture management. Not only does this help to regenerate growth, but it also ensures that the animals are well-fed and healthy. There are a few steps you can take to improve your pasture management including planning rotations, avoiding overgrazing, and looking out for poisonous plants.