Archive for the ‘Articles’ Category

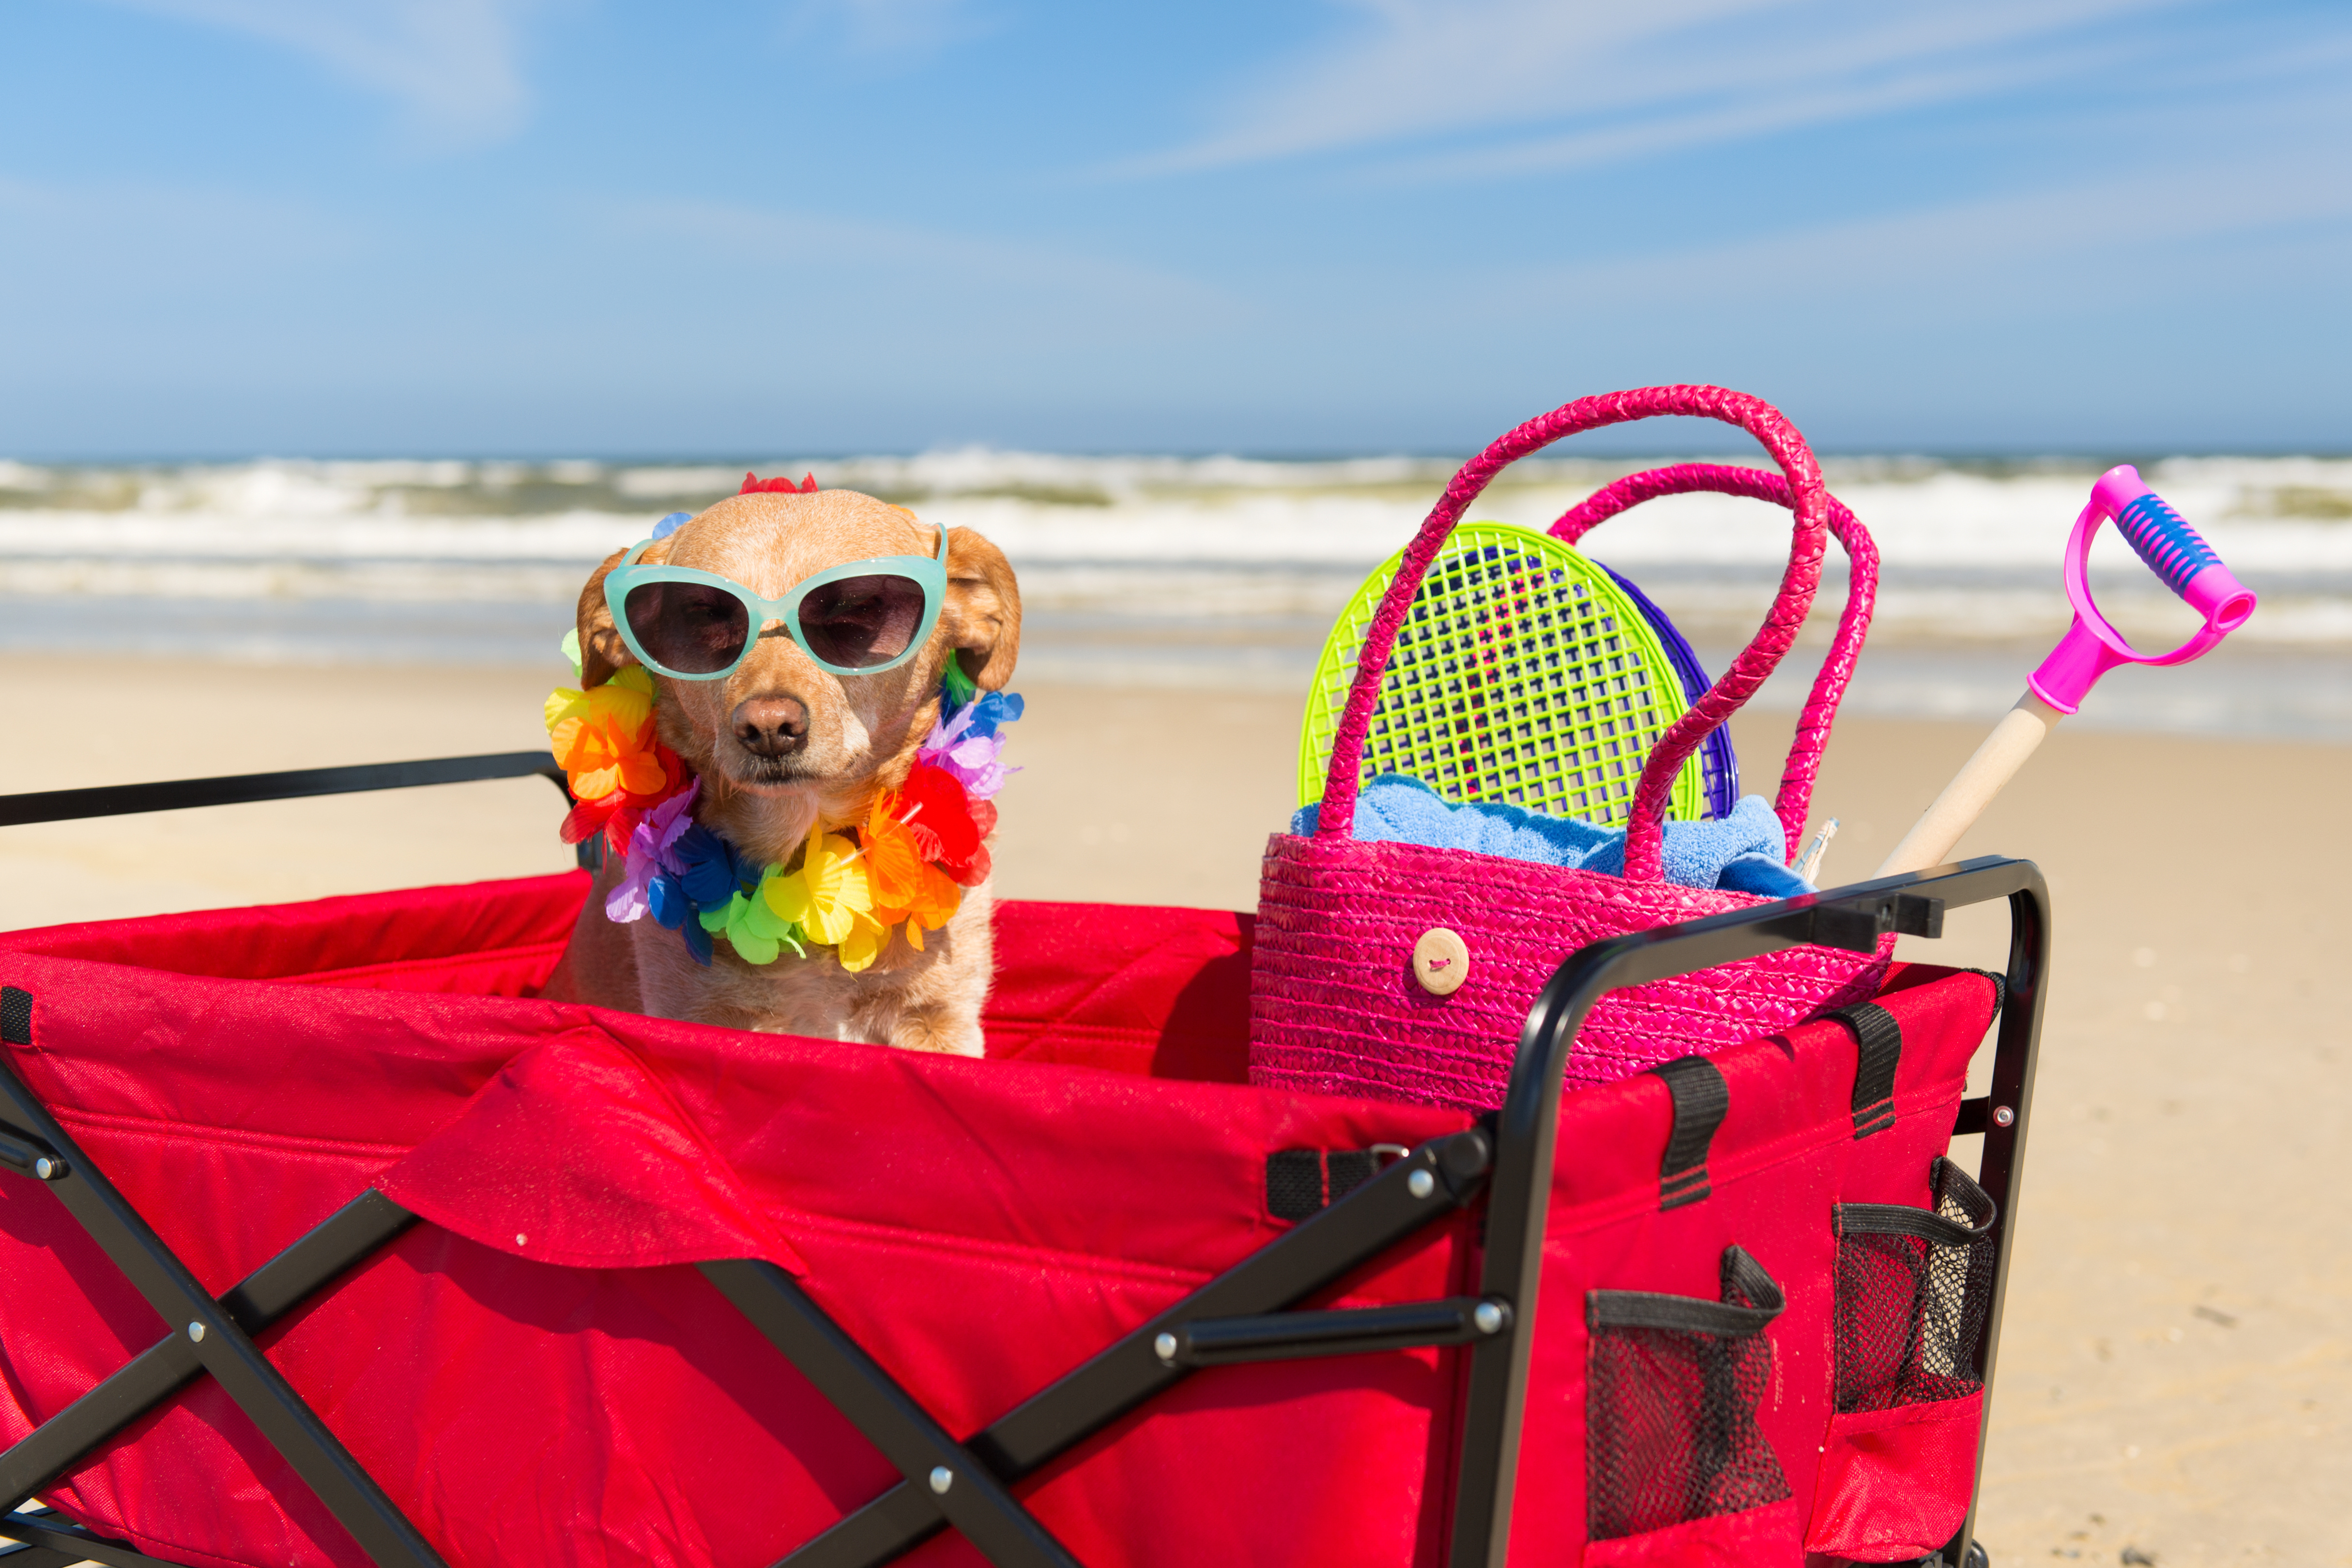
Pet Travel Safety Tips

Friday, June 8th, 2018

Pet Travel Safety Tips

Planning on having your four-legged friend tag along on your vacation this summer? Traveling with a pet can be both stressful and rewarding. Read through some tips from ASPCA to help you as you’re traveling with your pet.

For some pet parents, a trip is no fun if the four-legged members of the family can’t come along. But traveling can be highly stressful, both for you and your pets. If you’re planning to take a trip with pets in tow, we have some tips to help ensure a safe and comfortable journey for everyone.

Remember, no matter where you’re headed or how you plan to get there, make sure your pet is microchipped for identification and wears a collar and tag imprinted with your name, phone number and any relevant contact information. It’s a good idea for your pet’s collar to also include a temporary travel tag with your cell phone and destination phone number for the duration of your trip.

Traveling by plane?
Unless your furry friend is small enough to ride under your seat, it’s best to avoid air travel with your pets. If you must bring your pet along on the flight, here are a few suggestions to keep your pet safe while flying the friendly skies.

  • Book a direct flight whenever possible. This will decrease the chances that your pet is left on the tarmac during extreme weather conditions or mishandled by baggage personnel during a layover.
  • Make an appointment with your pet’s veterinarian for a checkup. Prior to your trip, make sure your pet’s vaccinations are up-to-date and obtain a health certificate from your veterinarian dated within 10 days of your departure. Tranquilizing your pet is generally not recommended as it could hamper his or her breathing, so use this time to check with your veterinarian for ways to relax your pet if you suspect he or she may become afraid, anxious or uncomfortable mid-flight. For travel outside of the continental United States, additional planning and health care requirements may be necessary. Contact the foreign office of the country you are traveling to for more information.
  • Purchase a USDA-approved shipping crate. The crate should be large enough for your pet to stand, sit and turn around in comfortably, and lined with some type of bedding—shredded paper or towels—to absorb accidents. Prior to your trip, tape a small pouch of dried food outside the crate so airline personnel will be able to feed your pet in case he or she gets hungry during a layover. The night before you leave, freeze a small dish or tray of water for your pet. This way, it can’t spill during loading and will melt by the time he or she is thirsty. Make sure the crate door is securely closed, but not locked, so that airline personnel can open it in case of an emergency.
  • Make sure your pet’s crate has proper identification. Mark the crate with the words “Live Animal,” as well as with your name, cell phone and destination phone number, and a photo of your pet. Should your pet escape from the carrier, this could be a lifesaver. You should also carry a photograph of your pet.
  • Tell every airline employee you encounter—on the ground and in the air—that you are traveling with a pet in the cargo hold. This way, they’ll be ready if any additional considerations or attention is needed. If the plane is delayed, or if you have any concerns about the welfare of your pet, insist that airline personnel check the animal whenever feasible. In certain situations, removing the animal from the cargo hold and deplaning may be warranted.

Taking a Road Trip?
Traveling with a pet by car involves more than just loading the animal in the back seat and motoring off, especially if you will be driving long distances or plan to be away for a long time. Here are a few car travel safety tips to help you prepare for a smooth and safe trip.

  • Prep your pet for a long trip. Get your pet geared up by taking him on a series of short drives first, gradually lengthening the time spent in the car. If you’re traveling across state lines, bring along your pet’s rabies vaccination record. While this generally isn’t a problem, some states require this proof at certain interstate crossings.
  • Keep your pets safe and secure in a well-ventilated crate or carrier. The crate should be large enough for your pet to stand, sit, lie down and turn around in. Secure your pet’s crate so it will not slide or shift in the event of an abrupt stop. If you decide to forgo the crate, don’t allow your pet to ride with his head outside the window, and always keep him in the back seat in a harness attached to a seat buckle.
  • Prep a pet-friendly travel kit. Bring food, a bowl, leash, a waste scoop, plastic bags, grooming supplies, medication and first-aid, and any travel documents. Pack a favorite toy or pillow to give your pet a sense of familiarity. Be sure to pack plenty of water, and avoid feeding your pet in a moving vehicle. Your pet’s travel-feeding schedule should start with a light meal three to four hours prior to departure, and always opt for bottled water. Drinking water from an area he or she isn’t used to could result in stomach discomfort.
  • Never leave your animal alone in a parked vehicle. On a hot day, even with the windows open, a parked automobile can become a furnace in no time, and heatstroke can develop. In cold weather, a car can act as a refrigerator, holding in the cold and causing the animal to freeze to death.

Source: ASPCA
Hot Weather Alert: Help Your Cattle Beat the Heat

Thursday, May 31st, 2018

By Kent Tjardes

Hot Weather Cattle

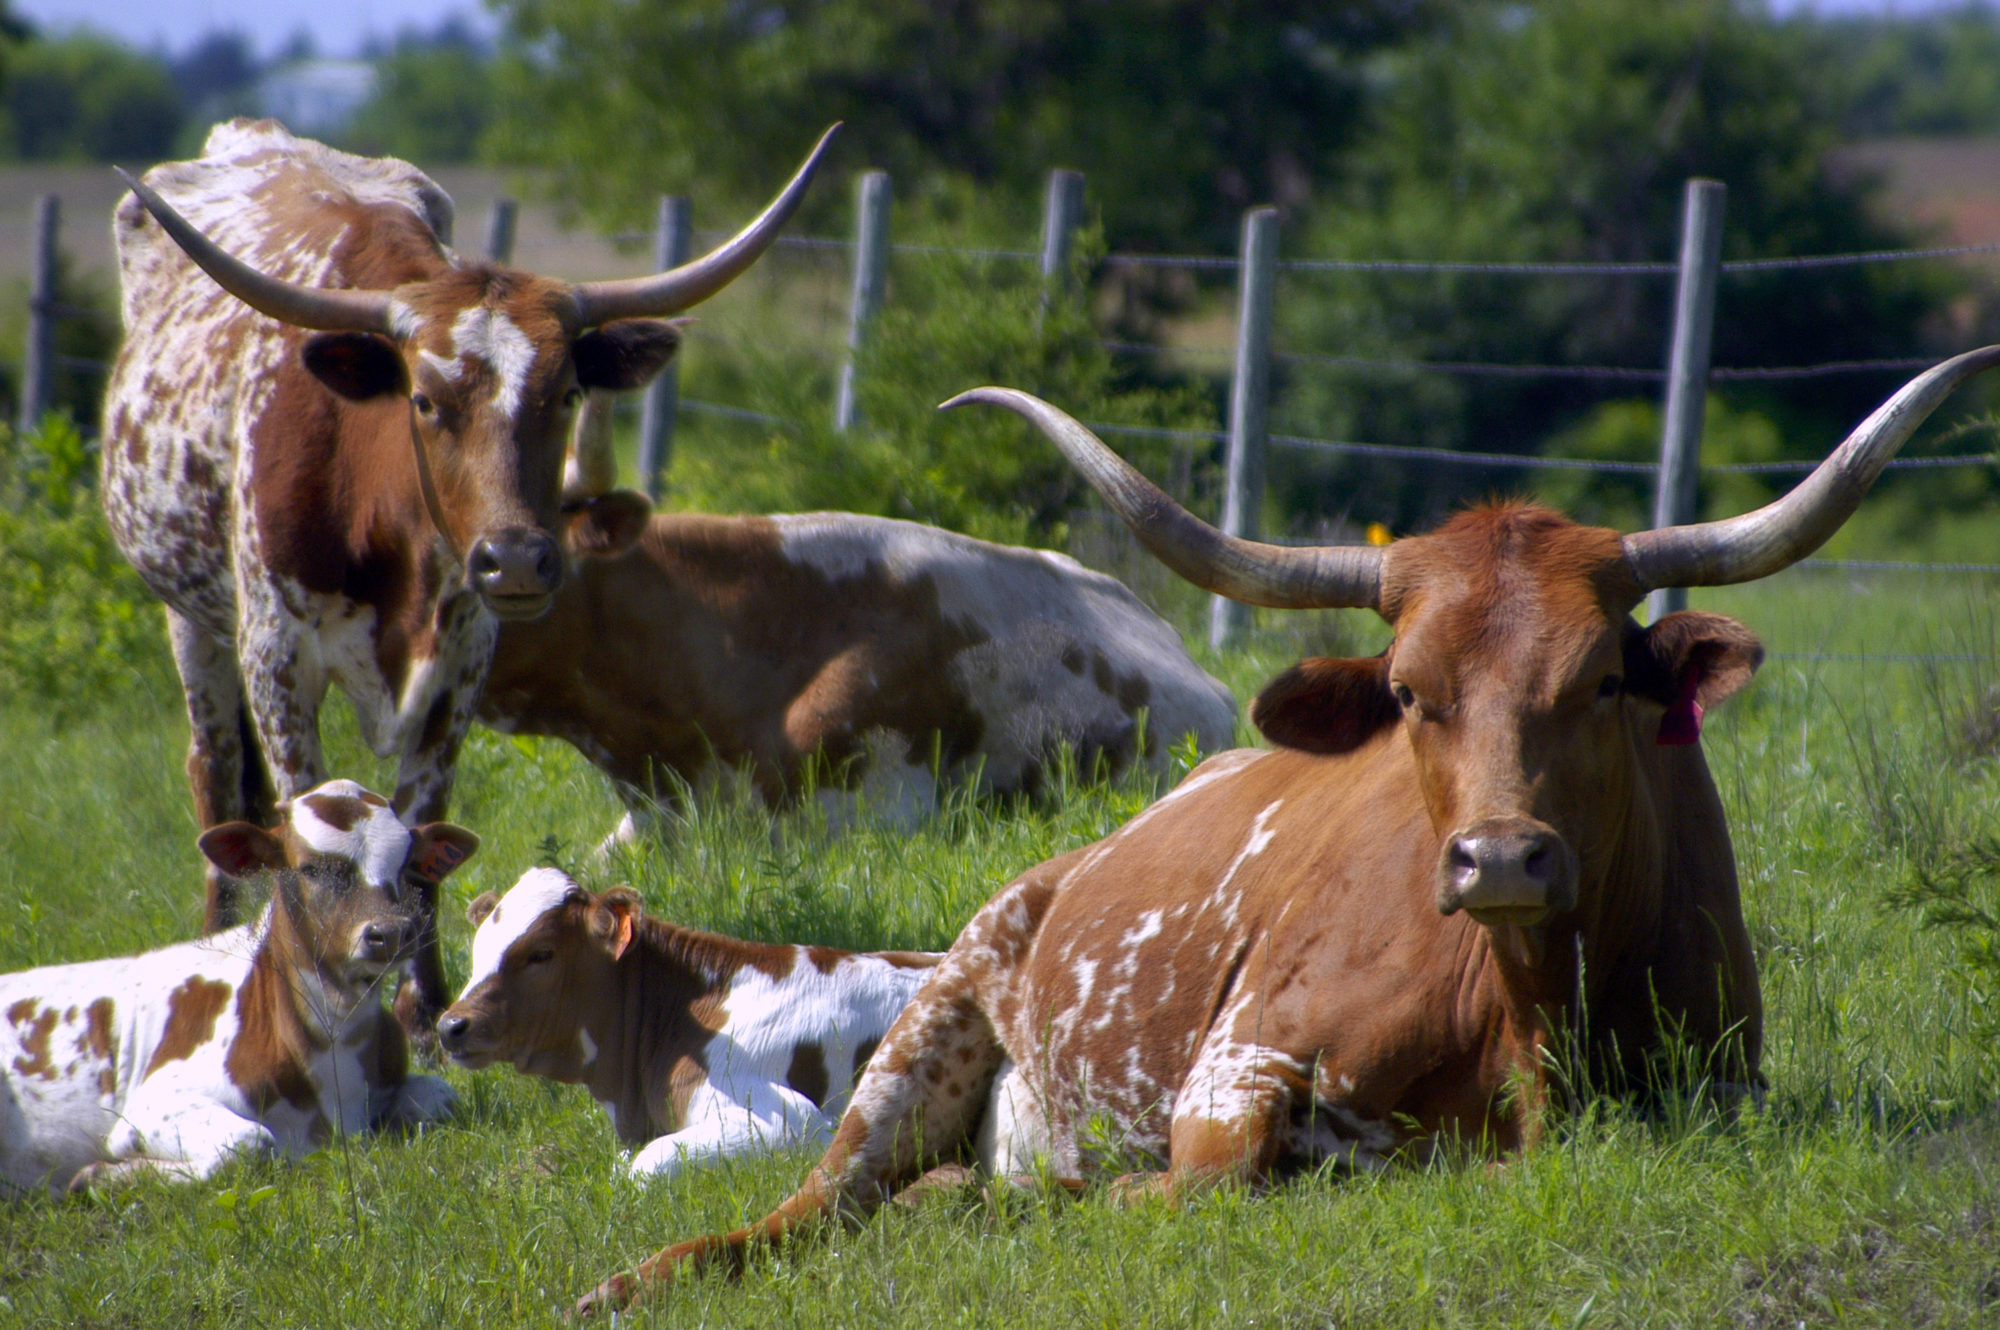
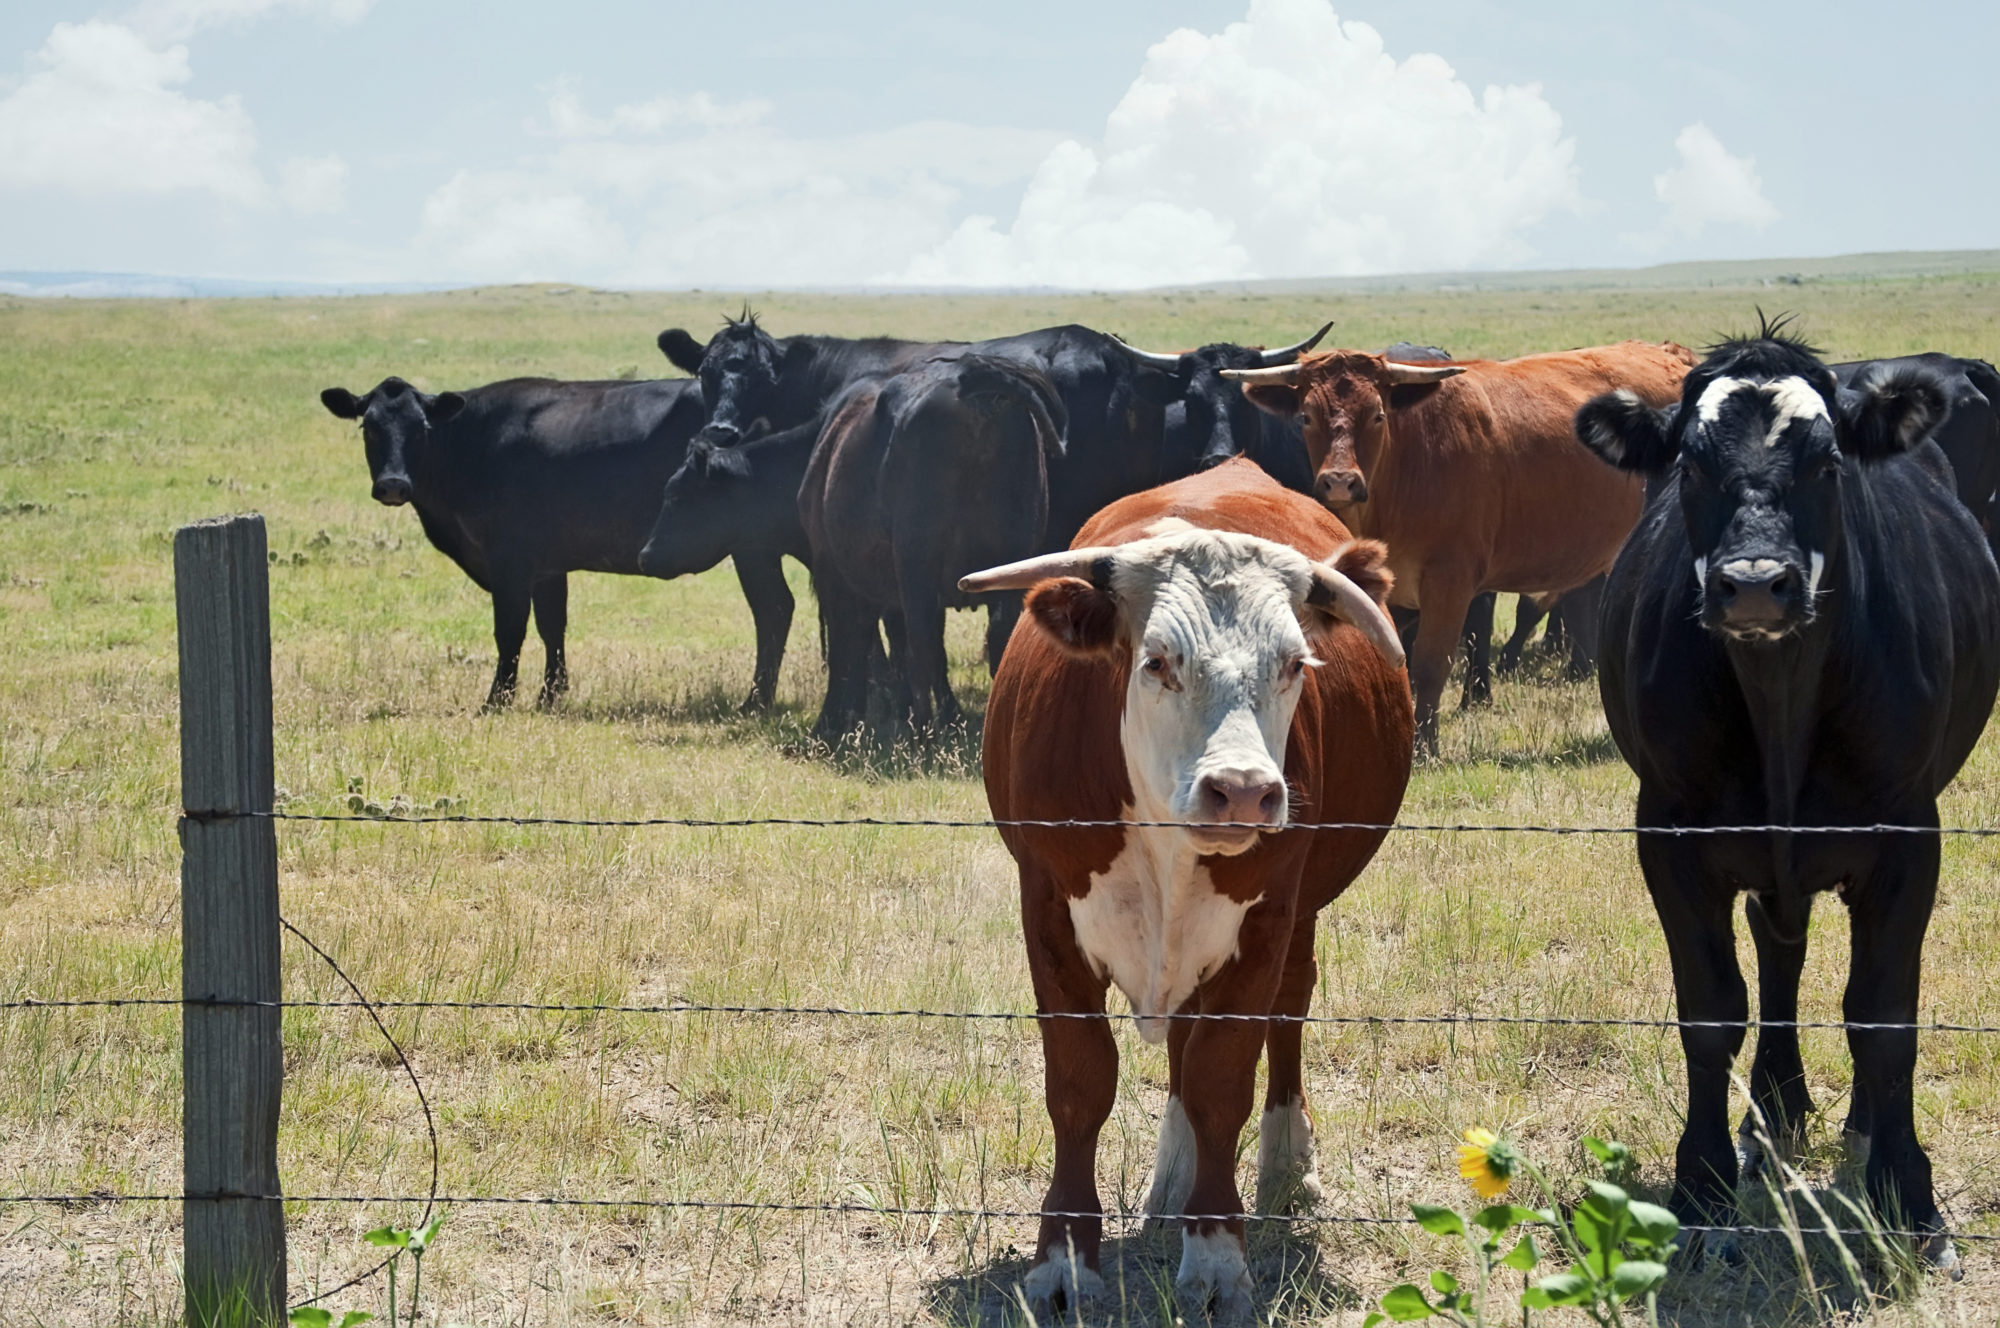
If you’re a kid at the swimming pool, the heat of summer can be delightful. But for cattle, summer heat can be dangerous, even deadly. “Heat stress in cattle is not something to be taken lightly,” says Kent Tjardes, Ph.D. and cattle consultant with Purina Animal Nutrition. “A few precautionary steps are essential to help cattle through hot weather.”

Be Water Wise

The Most important essential is the availability of clean, fresh water for all cattle. “Cattle water intake can increase by up to 50 percent during extreme heat,” says Tjardes. “Water not only prevents dehydration, but many animals will place their tongue and nose in the water to help cool the body.” Here are some water Tips:

  • Consider adding trough space when cattle are crowding existing water sources. The recommended standard linear waterer space is about .75 inches per head. But increasing linear area to two or more inches per head has been show to decrease heat stress.
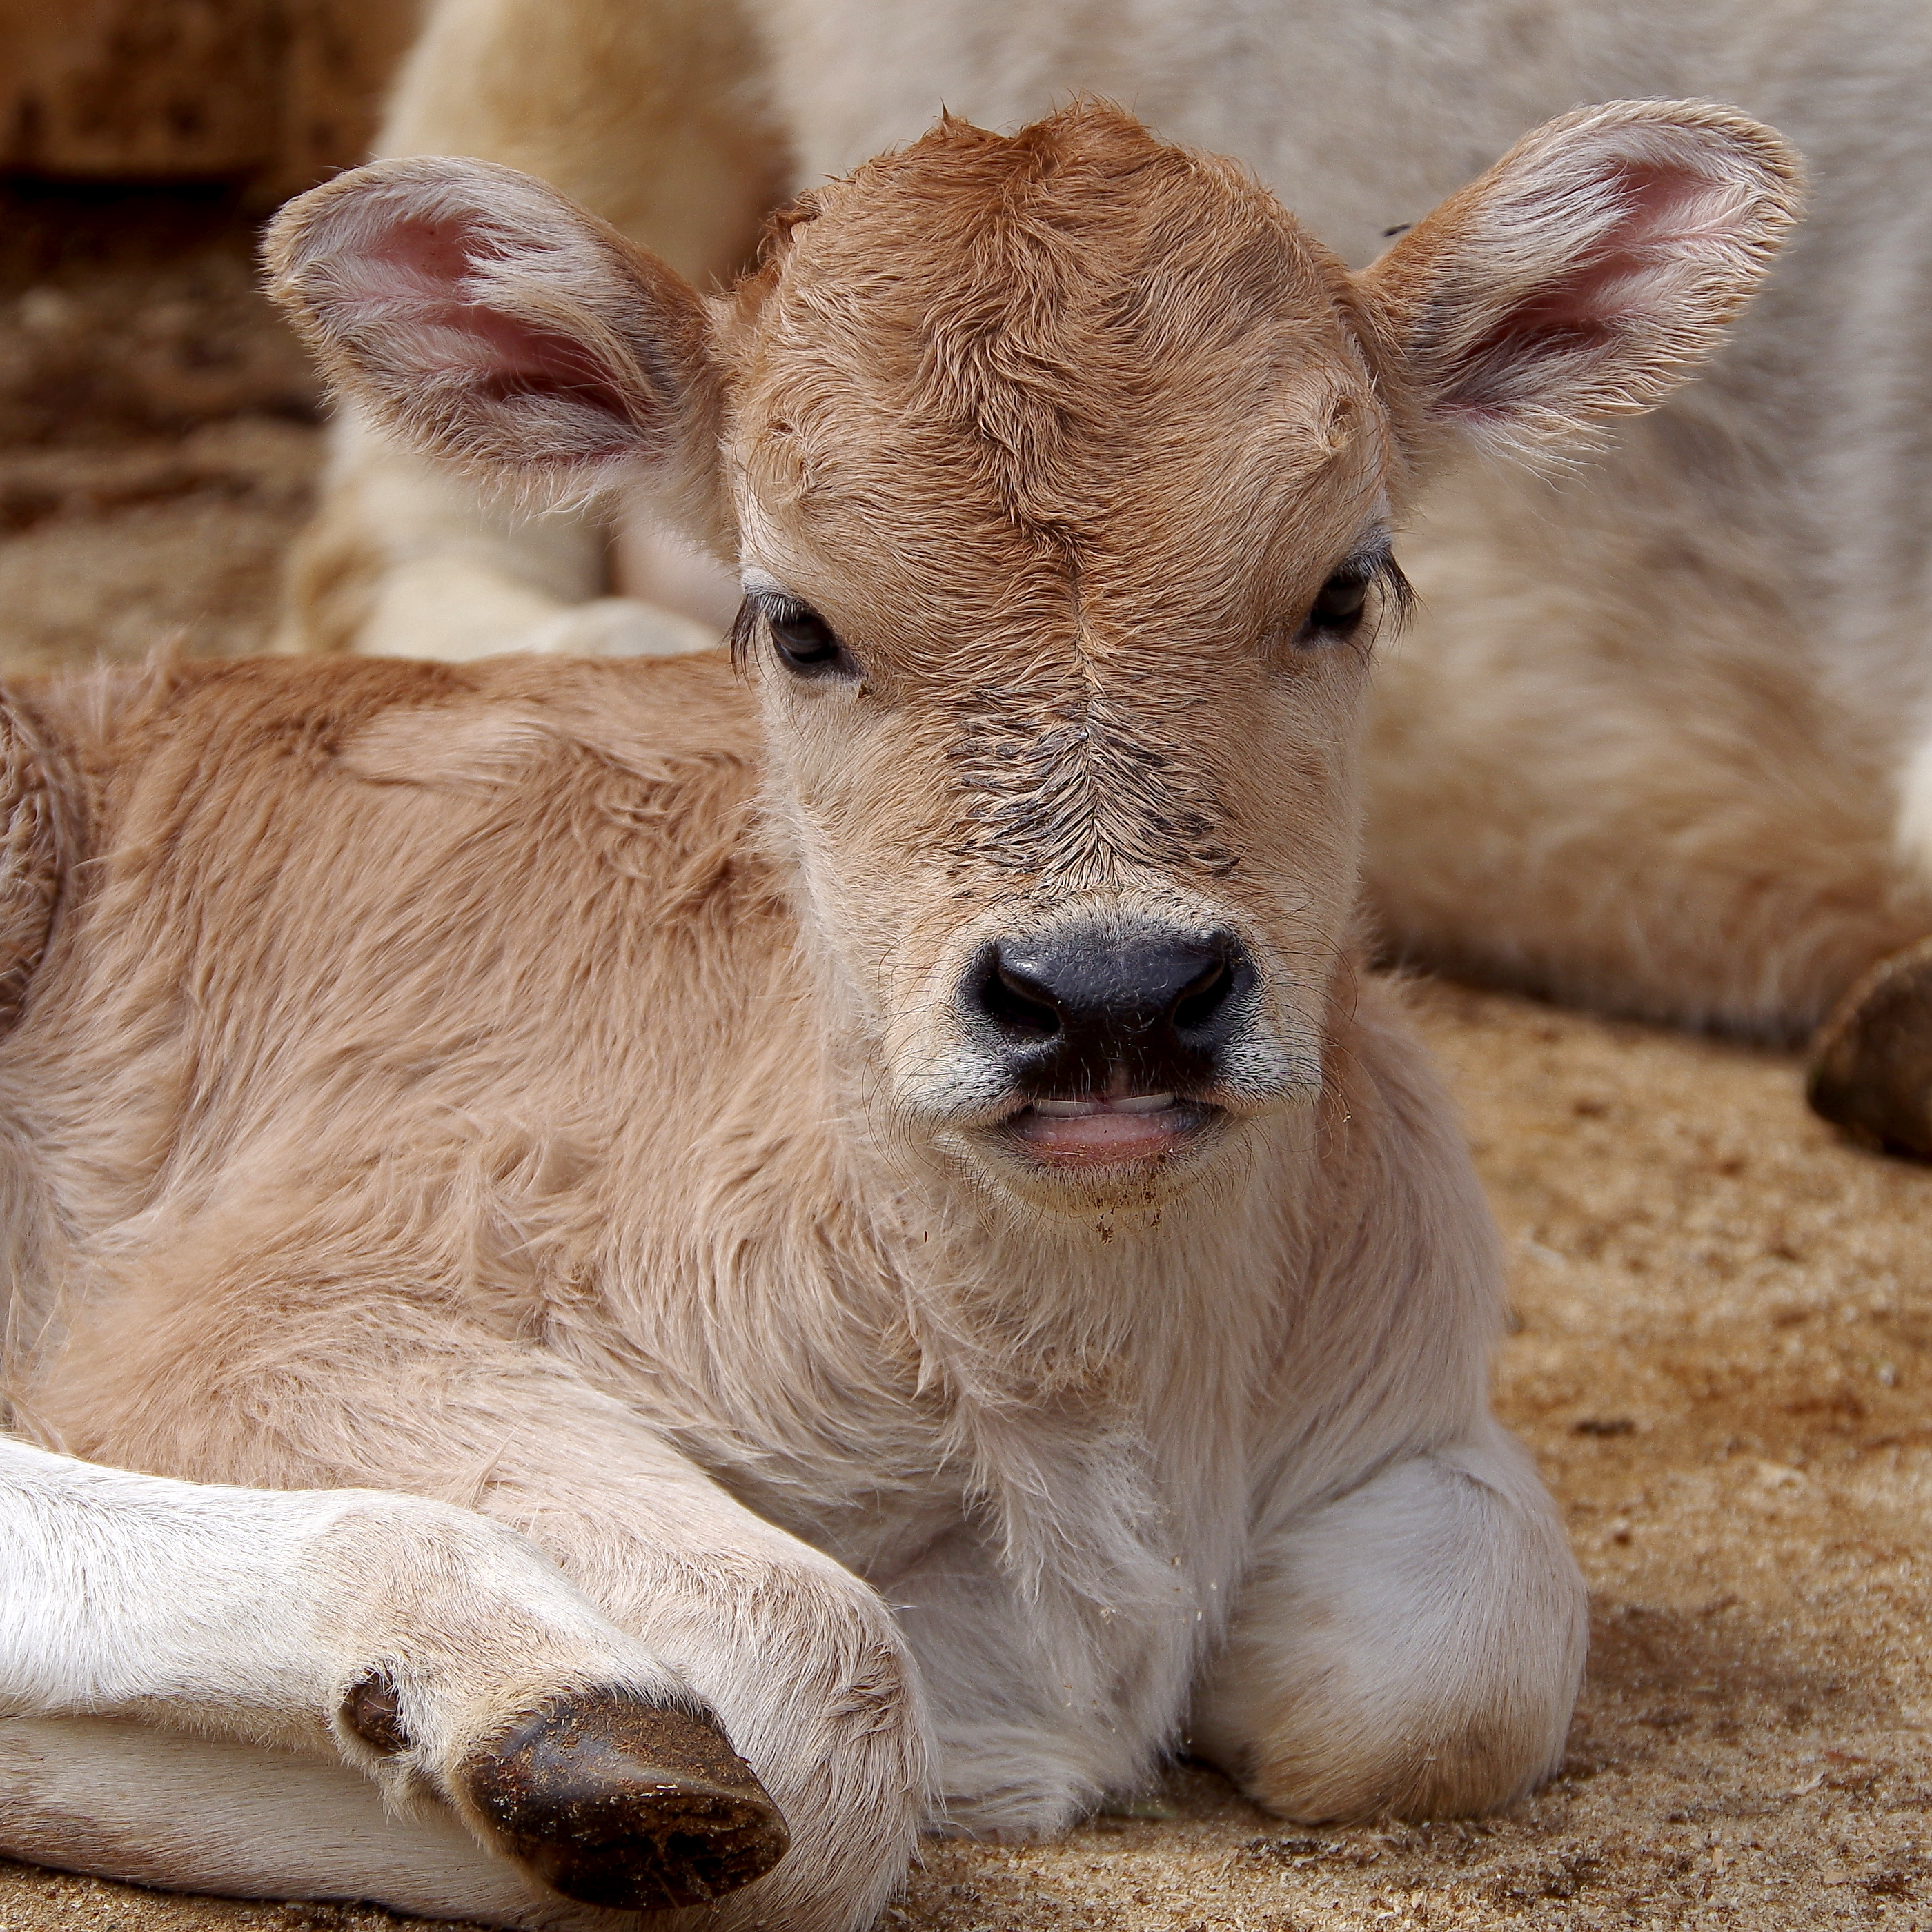
  • Monitor Calves carefully for water intake. Calves are small, and they get dehydrated quickly. Cows typically drink first, making calves second in line. Make sure there is enough water flow for the calves after the cows have been at the water source. After a few long hours in the heat, the last thing you want is calves to return to an empty waterer.
  • Ensure water sources are at an appropriate height for calves to access. The height of some waterers makes it hard for calves to access, discouraging water intake.

 
Control Flies

Controlling flies is another essential strategy.”Biting, irritation, and blood loss caused by flies adds stress to the animal,” says Tjardes. “To protect themselves from flies, cattle often group together. But this behavior can cause animals at the center of the group to become overheated.” Use fly control methods to reduce irritation, grouping behavior, and help alleviate heat stress caused by grouping. Here are some go-to fly control methods:

  • For pasture settings, offer Purina Wind and Rain Storm Fly Control Mineral with Altosid Insect Growth Regulator (IGR) to target horn flies.
  • In feedyard settings, consider a custom Purina supplement with ClariFly to control house, stable, face, and horn flies.
  • In any environment, cleanliness is critical. Scrape manure out of lots, remove excess feed along the outside of bunks and cut weeds to help reduce fly populations.

 
More Essentials

In addition to water management and fly control, here are a few more essential to help cattle beat the heat.

  • Offer shade: shade can’t always be provided but, when available, it can help cattle avoid heat stress.
  • Consider air flow: A five to ten mph wind helps to cool the animal’s body temperature. Avoid the use of pens with limited air flow (i.e., pens surrounded by tall cornfields or bales) or remove potential windbreaks. If you do use pens with limited airflow, build mounds within them to help raise cattle to an elevation of airflow.
  • Don’t handle the cattle in the heat: If possible, consider waiting until a cooler day. If you must work animals, do so in the morning when the temperature tends to be the lowest.

A few small changes can help keep cattle comfortable when the summer temperature rises.

Source: Purina Poultry


Weaning: Avoid these Common Pitfalls

Friday, May 4th, 2018

By Chris Forcherio

Have you defined what success and failure look like in your weaning program?

Success might look like live, healthy calves who put on weight with minimal intervention. On the flip side, failure may be calf mortality, sick or stressed, a high rate of treatment and less weight to sell. No matter your definitions, having a plan in place can help you avoid weaning pitfalls and, ultimately, failure during a critical time frame.

“Weaning shows how successful a producer has been for the past year,” said Chris Forcherio, Ph.D. and beef research manager with Purina Animal Nutrition. “For calves going to a market, it’s a producer’s payday. For calves staying in the herd, it’s a time for them to get ready for their next phase of production.”

Make plans now to avoid these common weaning-time pitfalls.

Pitfall #1: The plan is, there is no plan

“Too often producers just go out and wean. They find a break in the weather and decide it’s time,” says Forcherio. “The ‘just do it’ mentality may work out, but much like a producer plans for breeding and calving every year, they should plan for weaning.” Develop a flexible plan at least a month in advance. Planning ahead a month gives you time to order feed, work on your health program, order vaccines and more. Part of your health program may include pre-weaning vaccines that can be administered well in advance of weaning day to boost immunity.

Pitfall # 2: Facility Failure

Prepare facilities for calves trying to get back to their mothers. If calves are in a fenced area, check and reinforce fences as needed to prevent the calves from escaping. For corral areas, be sure gates are secured and without gaps. Another aspect of facilities is the environment. Small, tightly confined areas with mud are not ideal for calves. Give Calves a stress-free space with plenty of room and grass. Feed bunk placement and space are also critical. “Producers often put feed bunks in a place that convenient for them, not for their cattle,” says Forcherio. “Place feed bunks in an area where calves will run into them, not just in a place that’s convenient.” Bunks should be placed perpendicular to fence lines so calves can bump into feed as they are circling the fences. To prevent calves from competing for bunk space, provide 12 inches of bunk space for hand-fed feeds like Precon Complete Feed and six to eight inches of bunk space for self-fed feeds like Accuration Starter Complete Feed.

Pitfall # 3: The height of water and hay

Beyond making sure calves can find water sources and ensuring there is clean, fresh water available for all calves, another common pitfall is water accessibility. “Make sure your water trough is not too tall,” says Forcherio. “We tend to assume that 400- or 450-pound calves are going to be able to reach the same waterer set up for a 1200-pound cow when that may not be the case.” The same concept applies to hay feeders. “I often refer to hay out of reach of calves as the ‘devil’s tower of hay in the hay ring,'” says Forcherio. “The hay ring is out, and the round bale is in the hay ring, but the calves can’t reach the tower of hay in the middle.” Check your hay feeders to ensure they aren’t too tall for the shorter necks of calves. If hay is out of reach, do what you can to spread hay from the center towards the outside of the hay ring.

Plan to drive feed intake

What is Forcherio’s top piece of advice? Have a plan to maximize feed intake. “The end goal is to drive intake and get calves eating the nutrients they need to stay healthy,” says Forcherio. “Anything you can do to set calves up to eat at target intake levels will help them have a higher chance of success.”

Ask your dealer about starter feeds available through Purina All Seasons Cattle Nutrition Program.


Source: Purina Checkpoint

Forage Snapshot

Wednesday, April 4th, 2018

ForageBy Chad Zehnder

These are simple things you can do to make the most of forages today and further on down the road:

1. Implement a grazing plan

Rotational grazing gives pastures a rest compared to grazing them continuously. You can rotate cattle between pastures as often as once a day to as little as once a month. Either way, rotational grazing can help ensure quality and quantity of forage throughout the summer. Simply splitting a pasture in half can help.

2. Consider it soil fertility

Just like you need to look at cattle requirements each winter and determine if you need to supplement, the same holds true for soil. Work with an agronomist to test your soil. Test results will tell you if you need to fertilize to combat caps in soil fertility. Remember soil fertility will impact not only forage quantity but will influence quality – especially protein. What your cattle eat is a direct result of soil fertility.

3. Hone in Harvest

There’s no “right” time to harvest. Harvest typically occurs when there’s a happy medium of quantity to match quality. Time harvest to match the quality of forage desired. Keep in mind that as forages mature digestibility and protein tend to drop. Also look at ways to minimize leaf loss and consider the use of a preservation to help with storage.

4. Manage the summer slump

As you get into July and August, forages mature and pasture quality declines. You may need to supplement to meet cattle requirements. Supplementation is especially vital in spring-calving herds with cows still lactating. Don’t overlook calves; as pasture quality declines, consider offering calves supplemental creep feed.


Source: Purina Checkpoint


Purina Oyster Strong™ System

Thursday, November 16th, 2017

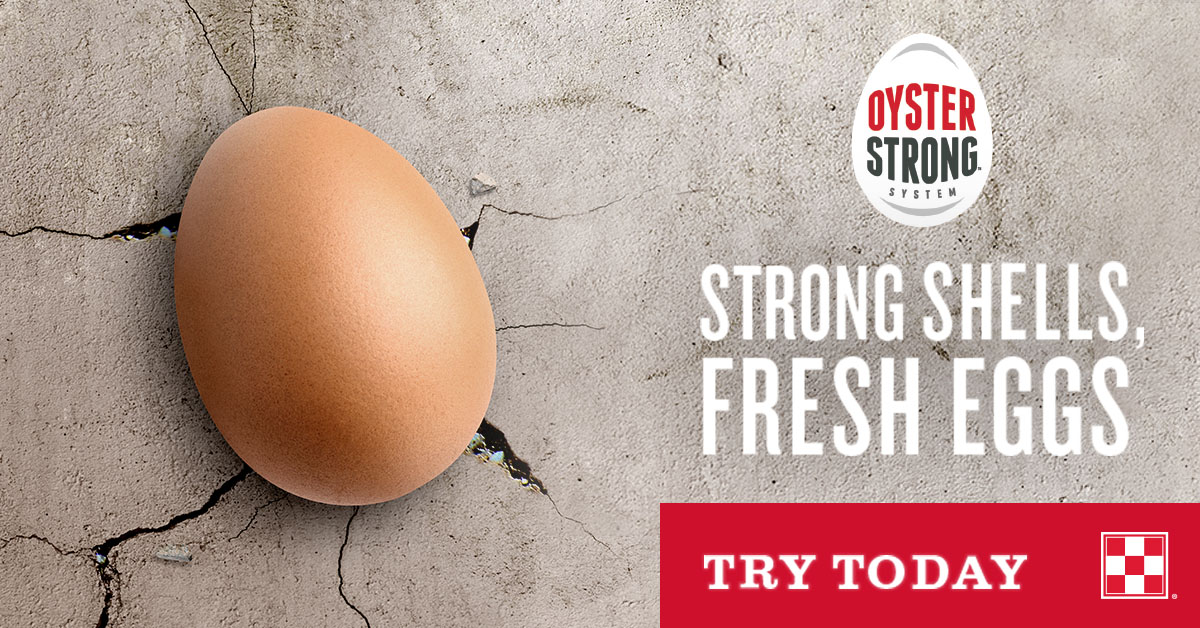
Purina® Layena® and Layena® Plus Omega-3 chicken feed include our exclusive Oyster Strong™ System for strong shells and fresh eggs
No Need to Supplement: It’s All in the Bag

Calcium is the number one nutrient for laying hens. For years, there has been only one way to provide this key nutrient: by supplementing layer feed with oyster shells.

Now, Purina® Layena® and Layena® Plus Omega-3 layer feeds include Oyster Strong™ System, an exclusive blend of oyster shell and key vitamins and minerals, like vitamin D and manganese, ensuring a supply of calcium will be available at night when your hens are forming eggs.

Our exclusive Oyster Strong™ System eliminates the need to supplement as all the necessary calcium is included in every bite of our complete layer feed.

https://youtu.be/P0j_5D1WOEM

What is Purina’s Oyster Strong™ System?
Purina’s Oyster Strong™ System is a blend of oyster shell and key vitamins and minerals, like vitamin D and manganese. This combination includes large particles that break down slowly, ensuring that hens receive a supply of calcium at night when they need it most. This slow-release calcium is important for strong shells and healthy hens. It’s included exclusively in Purina® Layena® and Layena® Plus Omega-3 layer feeds.

How does Purina’s Oyster Strong™ System work?
Oyster Strong™ System is made up of larger particle size oyster shell. The large particles break down over time and release calcium slowly.

Here’s why slow-release calcium is important:

– Each eggshell includes about 2 grams of calcium. To form each eggshell, hens must consume about 4 grams of calcium per day through their feed.
– It takes approximately 20 hours for a hen to make an eggshell. Because of this timeframe, much of the work is done overnight – long after the hen has eaten.
– If only a quick-release calcium is provided, the hen would digest it very quickly, leaving a void for the additional calcium she needs while she sleeps.
– If a hen does not have the necessary calcium, she may pull the nutrient from her bones which can cause a weak skeletal structure.
Through the entire egg formation process, hens incorporate nutrients from their feed into the egg and shell. Offering a complete layer feed that includes Purina’s exclusive Oyster Strong™ System, like Layena® or Layena® Plus Omega-3 layer feed, helps you provide all the nutrients your hens need for nutritious eggs, protected by strong shells.

Do I need to supplement my layer feed with oyster shells?
If you are feeding your hens a diet consisting of 90% Purina® Layena® or Layena® Plus Omega-3 layer feed with Oyster Strong™ System, you should not need to supplement with oyster shells. The added calcium is included right in the feed.

Can I feed eggshells to my hens for added calcium?
You can provide egg shells to your hens as a calcium source. Just be aware that there could be some issues with this approach.

– The calcium in eggshells is not as available to the hen as it is from oyster shell and it may break down quicker than the slow-release calcium in Oyster Strong™ System.
– Your birds will need to eat more eggshells to get the same amount of calcium as from oyster shell.
– You could be teaching your birds that eating eggshells is okay, which could lead them to start eating the eggs that they are laying.
– If you decide to offer eggshells, be sure to dry and clean the eggshells prior to giving them to your birds. You could be feeding the hens bacteria that you do not want them to have and could potentially make them sick.

Remember that Oyster Strong™ System is incorporated into both Purina® Layena® and Layena® Plus Omega-3. In most cases, you should not need to supplement oyster shell when you are feeding a complete layer feed that includes Oyster Strong™ System.

When should I start feeding layer feed to my birds?
Start feeding a complete layer feed to your hens when they turn 18 weeks old or when you see the first egg, whichever comes first. Eighteen weeks is the age when most egg-laying breeds are considered adults. Most excitingly, it’s the time when many breeds will lay their first egg. To produce eggs, hens require different nutrients from when they were growing; therefore, at this key milestone, you can start switching your chickens to layer feed.

After choosing a complete layer feed for your flock, it is important to make the transition over time to prevent digestive upset.

For the backyard birds on our farm in Missouri, we have found it’s best to make the transition over time rather than all at once. We mix the starter and layer feed evenly for four or five days. If birds are used to crumbles, start with a crumble layer feed. The same goes with pellets. The more similar the two feeds are, the more smoothly the transition will go.

Many hens will eat the mixed feed without noticing a difference. When hens are eating both feeds, flock owners can stop feeding the starter feed and make the complete switch to all layer feed. It is important to give your birds enough time to adjust to the new diet. Most birds will adjust within a couple of weeks but some can take a month or longer to fully transition to their new diet.

Navigation


Share this page

Calendar

July 2026
No event found!

Quick Info


Main Store
1501 Eastern Ave map

Saint Cloud, FL 34769..

Contact Info

Phone: 407-957-4100
Fax: 407-957-0450

Store Hours

Mon-Fri: 8:00 am - 6:00 pm
Sat: 8:00 am - 5:00 pm
Sunday Closed


Second Store
215 13th Street

St. Cloud, FL 34769

Contact Info

Phone: 407-892-4040

Store Hours

Mon-Fri: 8:00 am - 6:00 pm
Sat: 8:00 am - 5:00 pm
Sunday: Closed

Owner: Samantha Holloway
1501 Eastern AveSaint Cloud, FL 34769
Phone: 407-957-4100
Fax:407-957-0450

2nd Store
215 13th Street St. Cloud, FL 34769

Contact Info
Phone: 407-892-4040
Store Hours
Mon - Sat 9:00 am - 7:00 pm
Sun Closed