


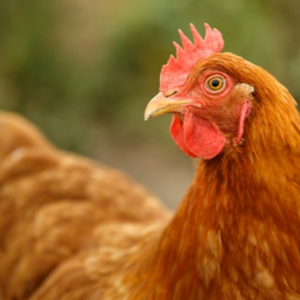
 Ahh, the molting process. Shorter days and cooler temperatures…For people, it’s a sign that it is back to school time and fall. To chickens, it’s a sign that it is time to renew their feathers. Losing feathers and re-growing them is called molting and occurs every year when the days get shorter.
During molt, chickens typically stop laying eggs and use this time to build up their nutrient reserves. Even though they are not laying, it is critical that your chickens have a high quality diet during this time.
Feeding a high quality ration such as NatureWise Feather Fixer™ during molt will help your birds get through the molting process and back to laying eggs as quickly as possible. Feather Fixer™ is a unique and innovative life-stage product that can also be fed year round if desired. It has elevated levels of protein as well as a mix of vitamins, minerals and amino acids that help maintain healthy skin and develop strong and beautiful new feathers.
Top tips for feeding through the molt:
- Feed a high protein feed like NatureWise Feather Fixer that is a complete feed, so you don’t have to worry about feeding other protein supplements to feed along with layer feed during molt.
- Make feed available free choice
- Limit scratch to 10% of diet during molt so you don’t dilute the protein content of the ration
- Molting and growing new feathers requires a lot of energy. Feathers are 85% protein… so be sure your birds’ diet includes a highly nutritious feed like NatureWise or Country Feeds that consists of at least 16% protein, or ideally, the higher protein NatureWise Feather Fixer. You don’t need to add medications or other vitamins if you’re feeding one of these feeds.
- Just as your chickens have individual personalities, they will go through molt differently as well. Some lose a few feathers and grow them back in as quickly as 3-4 weeks. Other chickens lose a lot of feathers and take 12-16 weeks to grow them back.
Other tips for helping chickens get through molting:
- Reduce stress as much as possible, avoid bringing new birds into the flock if possible
- Chickens should act normal during their molt – if they seem sick, something else is wrong
- Both roosters and hens go through molt
- Avoid handling your chickens during molt, it is painful for them and increases stress
Chickens will lose feathers in a sequence starting with the head and neck and then down the back, across the breast and thighs and finally their tail feathers. The new feathers that emerge are called pinfeathers and will grow in following the same sequence they were lost.
So don’t panic when your chickens start losing their feathers and stop laying eggs. Molting is a normal and natural process of shedding feathers and re-growing them that all chickens go through. The best thing you can do to help your chickens through molt is to feed a high quality, high protein layer feed.
In conclusion, visit Kissimmee Valley Feed for all things chicken!
Article source: Nutrena World
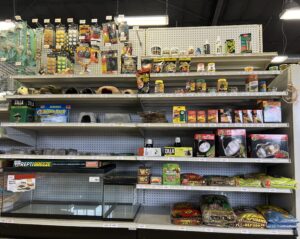 We are so excited to announce that we have reptile feed and supplies now available at Store #2! Whether you’re a proud owner of a gecko, turtle, or any type of lizard, we’ve got everything you need to keep your scaly friends happy and healthy. Our extensive inventory includes high-quality terrariums, efficient heat lamps, cozy shavings, and natural-looking rock habitats, along with a wide variety of feed that caters to all kinds of reptiles – so many, in fact, that we can hardly keep track!
 Internal parasites are a common problem in horses, particularly those managed on pasture. In addition to being a nuisance, internal parasites can cause serious health problems. These health issues include conditions such as weight loss, poor performance, colic, and intestinal obstruction. Establishing and maintaining a routine deworming schedule for your horses is an essential step to keep them healthy. However, a good deworming program should be tailored to the individual horse. The program should be based on factors such as age, pasture type, climate, and management style. Strategic deworming takes these factors into account. Additionally, a good deworming strategy helps prevent the development of resistance and strives to keep the deworming medications you use on your farm effective.
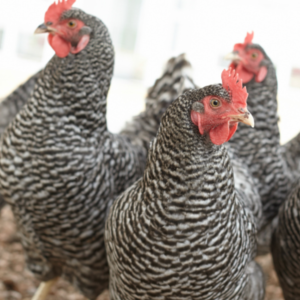 Switch laying hens to a complete chicken layer feed when they start laying eggs around 18 weeks of age. Choose a complete layer feed that includes all the essential nutrients laying hens need to lay strong and stay strong. Then make the transition gradually over one week.
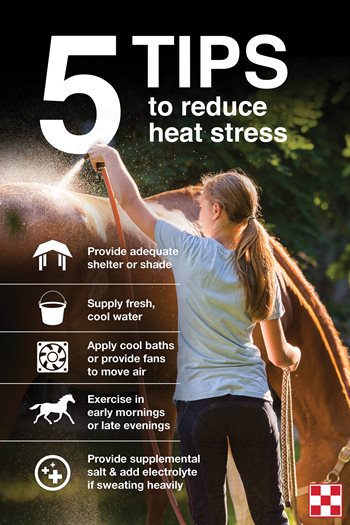 How to keep horses cool in hot weather? As summer drags on, heat can become a serious problem for many horses.